Table of Contents
Are your shoulders feeling tight, weak, or just plain cranky? You're not alone. The shoulder joint is a complex beast, prone to injury if not properly cared for. That's where the shoulder exercise kettlebell comes in. Kettlebells aren't just for swings and squats; they're fantastic tools for building robust, resilient shoulders. But before you start slinging iron overhead, it's crucial to understand the importance of stability. Think of it like building a house: you wouldn't start on the roof without a solid foundation, would you? This guide will walk you through a carefully curated progression of 10 kettlebell exercises, starting with foundational stability work and gradually progressing to more demanding overhead pressing movements. We'll break down each exercise, highlighting key points and modifications to ensure you're building strength safely and effectively. Whether you're a seasoned kettlebell enthusiast or a complete beginner, this article will provide you with the knowledge and tools to unlock your shoulder's full potential and keep those cranky shoulders at bay.
Straight Arm Overhead Kettlebell Hold: Building Shoulder Stability
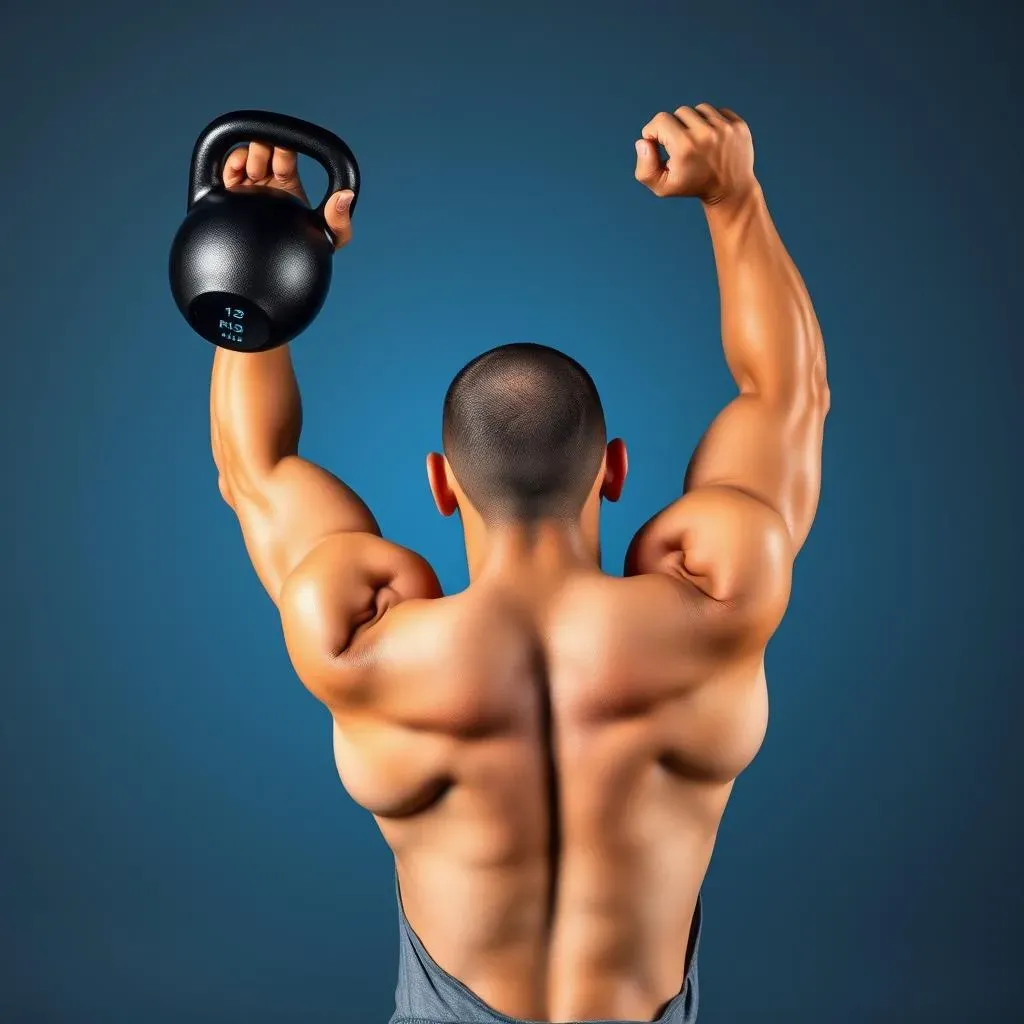
Straight Arm Overhead Kettlebell Hold: Building Shoulder Stability
Alright, let's kick things off with a seemingly simple, yet incredibly effective exercise: the Straight Arm Overhead Kettlebell Hold. Don't let the simplicity fool you; this movement is a sneaky powerhouse for building shoulder stability. It's all about teaching your shoulder joint to resist unwanted movement and maintain a solid position under load. Think of it as laying the groundwork for all those fancy presses and snatches you'll be doing later on. You're essentially firing up all those tiny stabilizer muscles that often get neglected in more dynamic exercises.
Kettlebell Windmill: Enhancing Stability and Movement
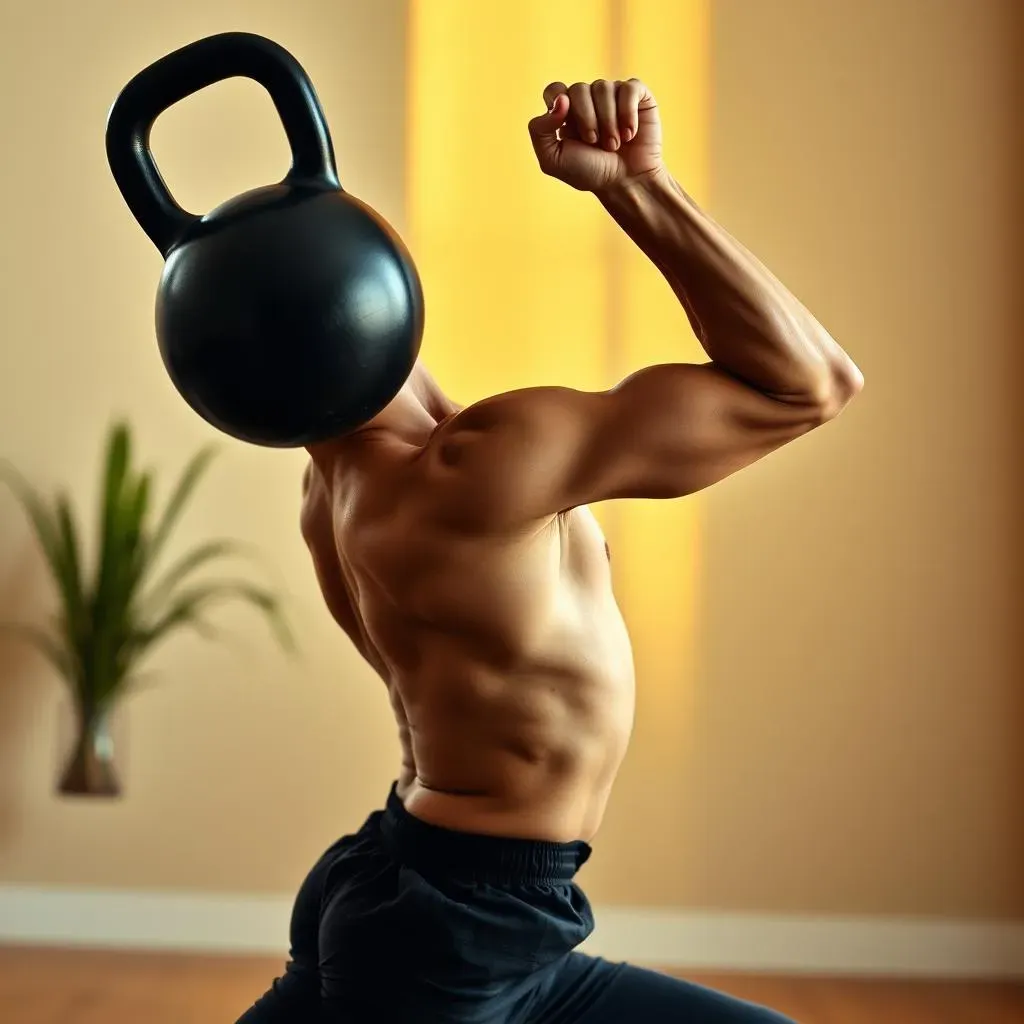
Kettlebell Windmill: Enhancing Stability and Movement
Unlocking Rotational Strength
now that we've got a taste of pure stability, let's add some movement into the mix with the Kettlebell Windmill. This exercise isn't just about hoisting a kettlebell overhead; it's about controlled rotation, core engagement, and maintaining a stable shoulder position throughout the entire movement. Think of it as a moving plank with a weight overhead. It's a fantastic way to improve shoulder mobility, strengthen your obliques, and challenge your stability in a whole new way. Plus, it just looks cool when you nail it.
Mastering the Movement
The Kettlebell Windmill can be a bit tricky to learn, so let's break it down. Start with a lighter kettlebell than you think you need. Seriously, ego aside. Stand with your feet slightly wider than shoulder-width apart, kettlebell in one hand overhead, locked out. Now, here's the key: hinge at your hips, pushing your butt back and reaching down towards the opposite foot with your free hand. Keep your eyes on the kettlebell throughout the entire movement. The goal isn't to touch your toes, but to maintain a straight line from your overhead arm to your supporting leg. Think long spine, engaged core, and stable shoulder. If you feel any pinching or discomfort in your shoulder, stop immediately and reassess your form. It's better to scale back and build up gradually than to push through pain and risk injury.
Windmill Progressions and Variations
Once you've mastered the basic Kettlebell Windmill, there are plenty of ways to progress and challenge yourself further. You can increase the weight of the kettlebell, add a pause at the bottom of the movement, or try the exercise with a bottoms-up kettlebell for an extra dose of stability. Another great variation is the kneeling windmill, which forces you to engage your core even more to maintain stability. Remember, the key is to focus on quality over quantity. Each rep should be performed with precision and control.
Progression | Description | Focus |
|---|---|---|
Light Kettlebell | Start with a very light weight to master form. | Form, stability |
Pause at Bottom | Hold the bottom position for a few seconds. | Strength, control |
Bottoms-Up | Hold the kettlebell bottoms-up. | Stability, grip strength |
Kneeling Windmill | Perform the windmill from a kneeling position. | Core engagement |
Kettlebell Turkish Get Up: A FullBody Stability Challenge
Kettlebell Turkish Get Up: A FullBody Stability Challenge
The King of All Kettlebell Exercises
folks, brace yourselves because we're about to tackle the Kettlebell Turkish Get Up (TGU). If the Windmill is a diagnostic tool, the TGU is the ultimate test of full-body strength, stability, and coordination. Seriously, if you can nail a TGU with a respectable weight, you're basically a superhero in disguise. This exercise works everything from your toes to your fingertips, demanding focus, control, and a whole lot of patience. It’s not just lifting a weight; it’s about owning every single transition, every single movement, with grace and precision.
The TGU isn't just about brute strength; it's about intelligent movement. It forces you to move deliberately and mindfully, paying attention to every muscle engagement and joint position. This translates to better body awareness, improved mobility, and a reduced risk of injury in all aspects of life. Think of it as functional fitness at its finest. It's not just about looking good; it's about moving well and feeling good.
Breaking Down the Get Up
Alright, let's dissect this beast. The TGU is a multi-step movement that starts lying on the ground and ends standing tall with the kettlebell locked out overhead. Sounds simple, right? Not so fast. Each step requires precise technique and unwavering focus. Here's a simplified breakdown:
- Starting Position: Lie on your back with the kettlebell in one hand, arm extended towards the ceiling. The opposite arm is out to the side at a 45-degree angle. The leg on the same side as the kettlebell is bent, foot flat on the floor. The other leg is straight.
- Roll to Elbow: Press the kettlebell up towards the ceiling and roll onto your opposite elbow. Keep your eyes on the kettlebell.
- High Bridge: Push through your bent leg and lift your hips off the ground, creating a straight line from your shoulder to your knee.
- Sweep the Leg: Sweep the straight leg back and underneath you, planting your knee on the ground.
- Half Kneeling: Get into a tall kneeling position, torso upright, kettlebell still locked out overhead.
- Stand Up: Stand up completely, maintaining a stable overhead position.
- Reverse the Movement: Carefully reverse each step to return to the starting position.
TGU Tips and Tricks
The TGU is a complex exercise, so it's important to start slow and focus on mastering each step before progressing. Here are a few tips and tricks to help you along the way:
Tip | Description |
|---|---|
Start Light | Use a very light kettlebell or even just your shoe to learn the movement. |
Keep Your Eye on the Kettlebell | This helps maintain stability and prevents the weight from drifting. |
Engage Your Core | A strong core is essential for stability throughout the entire movement. |
Breathe | Don't hold your breath! Breathe deeply and consistently throughout the exercise. |
Practice, Practice, Practice | The TGU takes time and patience to master. Don't get discouraged if you don't get it right away. |
Remember, the TGU is a journey, not a race. Enjoy the process of learning and mastering this incredible exercise. Your shoulders (and your entire body) will thank you for it.
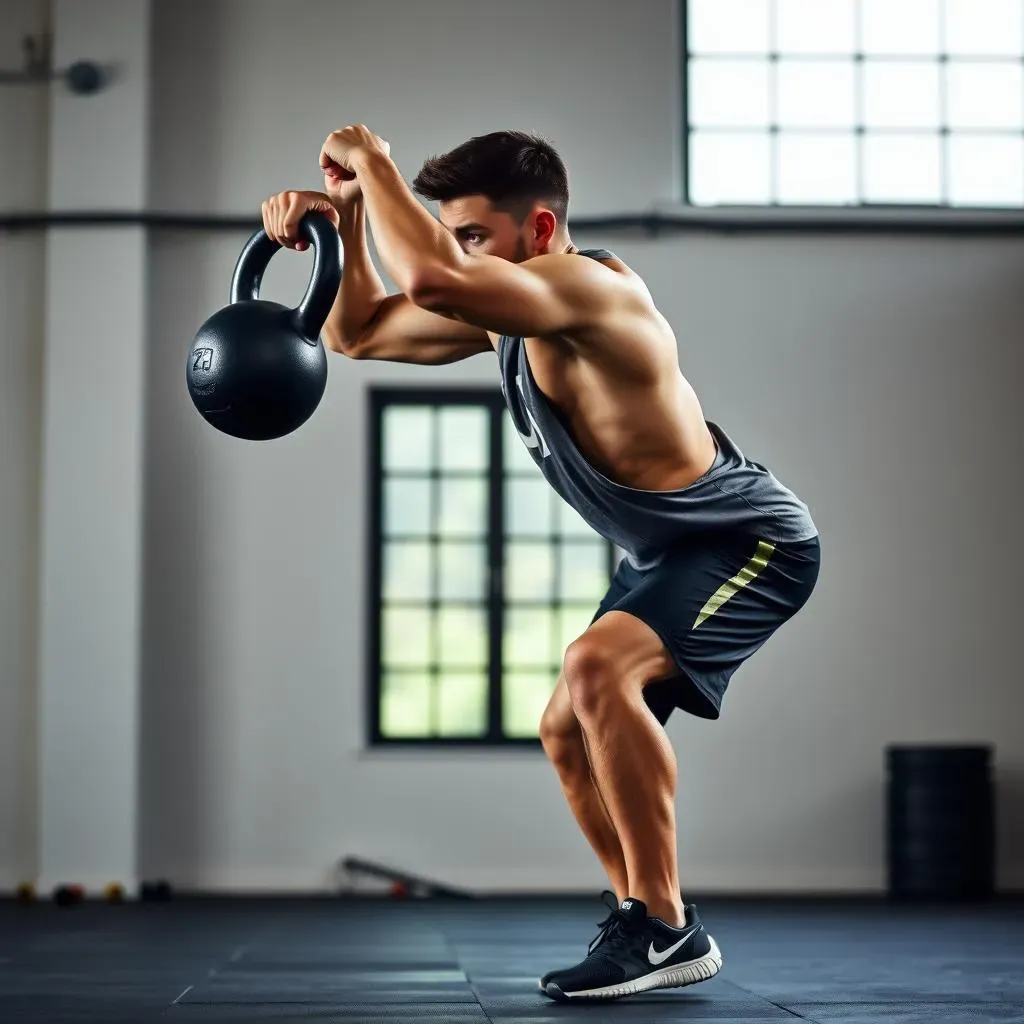
Kettlebell Shoulder Push Press: Transitioning to Overhead Pressing

Kettlebell Shoulder Push Press: Transitioning to Overhead Pressing
now that we've laid the groundwork with those stability-focused exercises, it's time to start exploring overhead pressing. But before we jump straight into strict overhead presses, let's ease our way in with the Kettlebell Shoulder Push Press. Think of this exercise as a stepping stone, a bridge between pure stability and raw pressing power. The push press allows you to use a bit of lower body assistance to drive the kettlebell overhead, making it a great way to build strength and confidence before tackling the more demanding strict press. It's like adding a turbo boost to your shoulder press, allowing you to handle heavier weights and push past plateaus.
The beauty of the push press lies in its ability to teach you how to generate power from the ground up. You're not just relying on your shoulder muscles; you're engaging your legs, glutes, and core to create a powerful, coordinated movement. This translates to better overall strength and athleticism, not just stronger shoulders. Plus, it's a fantastic way to improve your conditioning and burn some extra calories. It's a win-win situation.
Mastering the Kettlebell Shoulder Push Press
So, how do you properly execute a Kettlebell Shoulder Push Press? Let's break it down step-by-step:
- Starting Position: Clean the kettlebell to the rack position, holding it close to your body with your elbow tucked in. Your feet should be shoulder-width apart, with a slight bend in your knees.
- The Dip: Initiate the movement by performing a shallow dip, bending your knees slightly while keeping your back straight and your core engaged.
- The Drive: Immediately after the dip, explosively extend your legs and drive upwards, using the momentum to help propel the kettlebell overhead.
- The Press: As you drive upwards, simultaneously press the kettlebell overhead, locking out your arm at the top of the movement.
- Controlled Descent: Slowly lower the kettlebell back to the rack position, controlling the descent and absorbing the impact with your legs.
Push Press Tips and Common Mistakes
To get the most out of the Kettlebell Shoulder Push Press, keep these tips in mind:
Tip | Description |
|---|---|
Keep the Kettlebell Close | Avoid letting the kettlebell drift away from your body. Keep it close for better control and power transfer. |
Use Your Legs | The push press is a full-body movement. Don't rely solely on your shoulders. |
Don't Over-Dip | A shallow dip is all you need. Avoid squatting too deep, as this can reduce power output. |
Lock Out Your Arm | Ensure you fully lock out your arm at the top of the movement for maximum stability. |
Control the Descent | Don't let the kettlebell crash down. Control the descent to protect your shoulders and build strength. |
Common mistakes to avoid include:
- Using too much weight.
- Not engaging your core.
- Leaning back during the press.
- Not locking out your arm.
By focusing on proper technique and avoiding these common mistakes, you'll be well on your way to mastering the Kettlebell Shoulder Push Press and building a solid foundation for overhead pressing.
Kettlebell Clean and Press: Full Body Power and Shoulder Strength
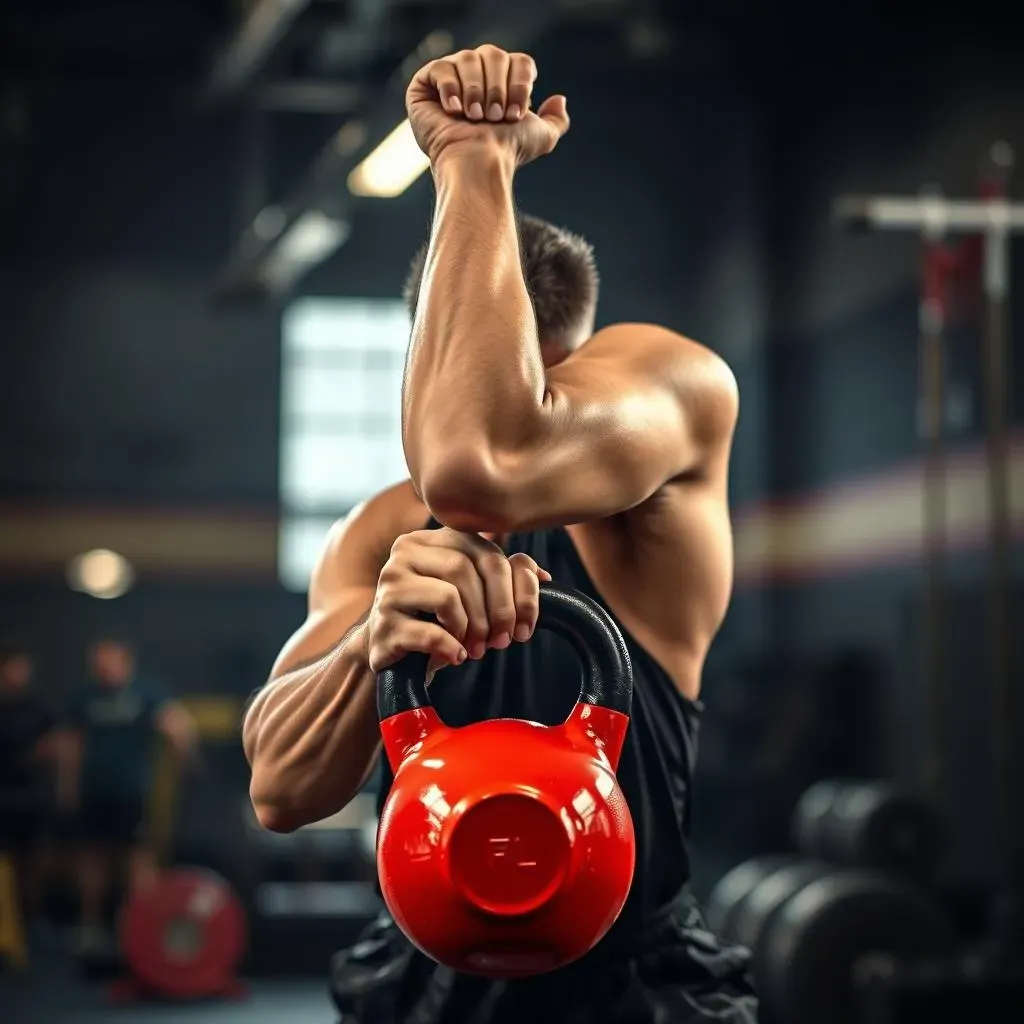
Kettlebell Clean and Press: Full Body Power and Shoulder Strength
Alright, buckle up, because we're diving into a true powerhouse movement: the Kettlebell Clean and Press. This isn't just a shoulder exercise; it's a full-body symphony of strength, coordination, and power. Think of it as the ultimate test of functional fitness. You're not just isolating a single muscle group; you're engaging your entire body to lift a weight from the ground to overhead. It's a dynamic, explosive movement that will challenge your strength, your cardiovascular system, and your mental fortitude. If you want to build serious strength, improve your conditioning, and feel like a total badass, the Clean and Press is your ticket.
The Kettlebell Clean and Press is more than just a physical challenge; it's a mental one as well. It requires focus, discipline, and a willingness to push yourself beyond your comfort zone. Each rep is a mini-battle, a test of your will and determination. But the rewards are well worth the effort. Not only will you build incredible strength and power, but you'll also develop a deeper understanding of your body and its capabilities. It's a journey of self-discovery disguised as a workout.
Breaking Down the Clean and Press
The Kettlebell Clean and Press is a complex movement, so let's break it down into its component parts:
- The Clean: This involves lifting the kettlebell from the ground to the rack position, where it rests comfortably against your forearm.
- The Press: From the rack position, you press the kettlebell overhead, locking out your arm at the top of the movement.
Sounds simple enough, right? But the devil is in the details. Let's take a closer look at each phase:
Mastering the Clean
The Clean is the foundation of the entire movement, so it's crucial to get it right. Here's a step-by-step guide:
- Starting Position: Stand with your feet shoulder-width apart, the kettlebell slightly in front of you. Hinge at your hips, keeping your back straight and your core engaged.
- The Lift: Grab the kettlebell with a firm grip, keeping your arm straight. Initiate the lift by driving through your legs and extending your hips.
- The Pull: As the kettlebell rises, pull it towards your body, keeping your elbow close.
- The Rotation: As the kettlebell reaches chest height, rotate your hand and guide the kettlebell into the rack position.
- The Rack: The kettlebell should rest comfortably against your forearm, with your elbow tucked in and your wrist straight.
Perfecting the Press
Once you've mastered the Clean, it's time to focus on the Press. Here's how to do it:
- Starting Position: The kettlebell should be in the rack position, as described above.
- The Press: Engage your core and press the kettlebell overhead, locking out your arm at the top of the movement.
- Controlled Descent: Slowly lower the kettlebell back to the rack position, controlling the descent and absorbing the impact.
Phase | Description | Key Focus |
|---|---|---|
Clean | Lifting the kettlebell to the rack position. | Hip drive, close pull, smooth rotation. |
Press | Pressing the kettlebell overhead. | Core engagement, controlled lockout. |
Clean and Press Tips and Common Mistakes
To maximize your results and minimize your risk of injury, keep these tips in mind:
- Start Light: Use a weight that allows you to maintain proper form throughout the entire movement.
- Engage Your Core: A strong core is essential for stability and power transfer.
- Keep the Kettlebell Close: Avoid letting the kettlebell drift away from your body.
- Breathe: Breathe deeply and consistently throughout the exercise.
Common mistakes to avoid include:
- Using too much weight.
- Rounding your back during the Clean.
- Not engaging your core.
- Leaning back during the Press.
By focusing on proper technique and avoiding these common mistakes, you'll be well on your way to mastering the Kettlebell Clean and Press and unlocking its incredible benefits.
Conclusion: Building Resilient Shoulders with Kettlebells
So, there you have it: a comprehensive guide to building strong, stable shoulders with kettlebells. Remember, this is a progression. Don't rush into the advanced exercises until you've mastered the fundamentals. Focus on building a solid foundation of stability with exercises like the Straight Arm Overhead Hold, Windmill, and Turkish Get Up. As you progress, pay close attention to your form and listen to your body. If you experience any pain, stop and reassess. With consistent practice and a focus on proper technique, you'll be well on your way to achieving healthier, more resilient shoulders that can handle whatever life throws your way. Now go grab that kettlebell and get to work!