Table of Contents
Ready to torch some serious calories and build full-body strength? Forget those complicated gym machines. All you need is a single kettlebell for a killer workout that hits your shoulders, back, and legs. This isn't your average routine; it's a metabolic firestorm designed to maximize results with minimal equipment. We're diving into a dynamic circuit that blends strength and cardio, perfect for those short on time but big on goals. This kettlebell leg and shoulder workout is structured to challenge you, build core strength, and leave you feeling energized. Get ready to power through hang clean and presses, single-arm rows, single-arm swings, and goblet squats. We’ll break down the correct form and rep ranges, so you can get the most out of every movement. Consider this your express ticket to a full-body transformation. Grab your kettlebell, and let’s get started!
WarmUp: Preparing for Your Kettlebell Leg and Shoulder Workout

WarmUp: Preparing for Your Kettlebell Leg and Shoulder Workout
Why Warm-Up Matters for Kettlebell Workouts
So, you're amped to jump straight into that kettlebell leg and shoulder workout, huh? I get it. But trust me, skipping the warm-up is like revving a cold engine to the max – something's gonna give. Warming up isn't just some box to check; it's about prepping your muscles and joints for the battle ahead. Think of it as sending a memo to your body: "Hey, we're about to do some work, so let's get those fluids flowing and muscles firing!"
A proper warm-up increases blood flow, which means more oxygen to your muscles. This not only improves performance but also drastically reduces your risk of injury. Plus, it's a chance to dial in your focus and mentally prepare for the workout. No one wants to tweak a shoulder on the first rep, right? Let's make sure you're ready to crush it.
The Ultimate Kettlebell Warm-Up Routine
Alright, now that we know why we're warming up, let's get into the how. This isn't about endless cardio; it's about targeted movements that mimic what you'll be doing in the workout. We're talking dynamic stretches, mobility drills, and light cardio to get everything online.
Start with some light cardio, like jogging in place or jumping jacks, for about 2-3 minutes to get your heart rate up. Then move into dynamic stretches like arm circles, leg swings, and torso twists. These movements increase range of motion and get those muscles firing. Finally, add in a few light kettlebell movements, like kettlebell halos and light swings, to prime your body for the heavier work ahead. Aim for about 5-10 minutes total. Your body will thank you.
Warm-Up Exercise | Reps/Duration | Benefit |
|---|---|---|
Jumping Jacks | 2 minutes | Increase heart rate, warm muscles |
Arm Circles | 10 forward, 10 backward | Improve shoulder mobility |
Leg Swings | 10 per leg | Loosen hip flexors and hamstrings |
Torso Twists | 10 per side | Improve spinal mobility |
Kettlebell Halos (light weight) | 5 per direction | Warm up shoulders and core |
Light Kettlebell Swings | 10 reps | Activate posterior chain |
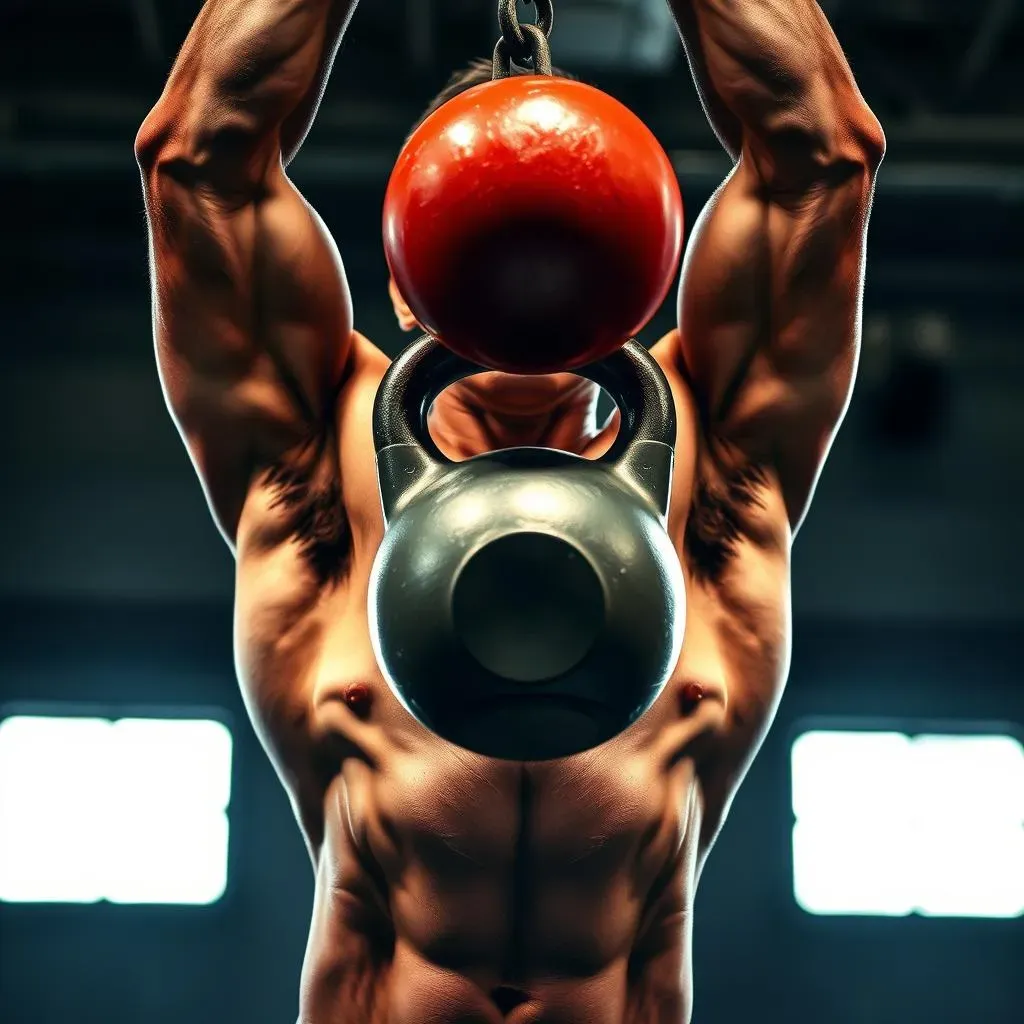
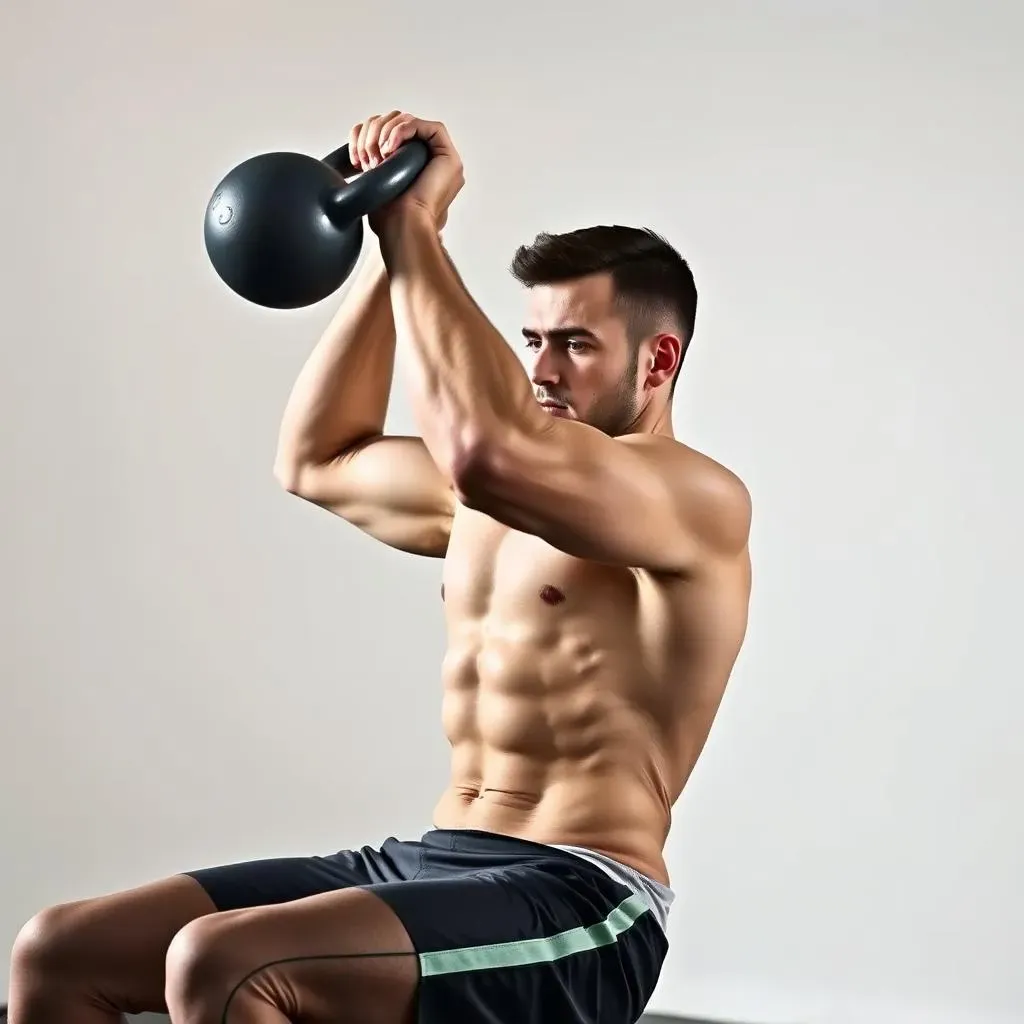
Hang Clean and Press: The Ultimate Kettlebell Exercise for Shoulders and Legs
Hang Clean and Press: The Ultimate Kettlebell Exercise for Shoulders and Legs
Why the Hang Clean and Press is a Game Changer
Alright, let's talk about the king of kettlebell exercises: the hang clean and press. This movement isn't just about building muscle; it's about functional strength, power, and coordination. It's a full-body exercise that targets your legs, core, shoulders, and arms, making it a super-efficient way to get a lot of bang for your buck. If you had to pick just one exercise to do with a kettlebell, this would be a top contender. It's like the Swiss Army knife of workouts.
What makes the hang clean and press so effective? First off, it starts with a dynamic movement – the clean – which engages your posterior chain (hamstrings, glutes, and back) to lift the kettlebell from a hanging position to the racked position. From there, you transition seamlessly into the press, which hammers your shoulders and triceps. The combination of these movements not only builds strength but also improves your power output and overall athleticism. Plus, it's a fantastic way to improve your posture and stability. You're essentially teaching your body to move as a cohesive unit.
Mastering the Hang Clean and Press: Step-by-Step
now for the nitty-gritty. The hang clean and press can seem a bit complex at first, but with proper technique, it becomes second nature. Here’s a step-by-step breakdown to help you nail it:
- Starting Position: Stand with your feet shoulder-width apart, holding the kettlebell in front of you with a neutral grip. The kettlebell should be hanging between your legs.
- The Hang: Hinge at your hips, keeping your back straight, and lower the kettlebell towards the ground. Think of it as a mini deadlift.
- The Clean: Explosively extend your hips and knees, using that momentum to pull the kettlebell upwards. As the kettlebell rises, pull it close to your body and flip your wrist, so the kettlebell ends up in the racked position (resting on your forearm).
- The Press: From the racked position, press the kettlebell overhead, fully extending your arm. Keep your core engaged and your wrist straight.
- Lowering: Slowly lower the kettlebell back to the racked position, then back to the starting hang position.
A few key pointers: Keep your back straight throughout the movement. Use your hips and legs to generate power, not your back. And focus on a smooth, controlled motion. Don't rush it.
Step | Description | Key Focus |
|---|---|---|
Starting Position | Stand with feet shoulder-width apart, holding kettlebell. | Neutral grip, kettlebell hanging between legs. |
The Hang | Hinge at hips, lower kettlebell towards ground. | Straight back, engage hamstrings. |
The Clean | Explosively extend hips and knees, pull kettlebell upwards. | Flip wrist to racked position. |
The Press | Press kettlebell overhead, fully extend arm. | Engage core, keep wrist straight. |
Lowering | Slowly lower kettlebell back to racked position, then to hang. | Controlled motion, maintain form. |
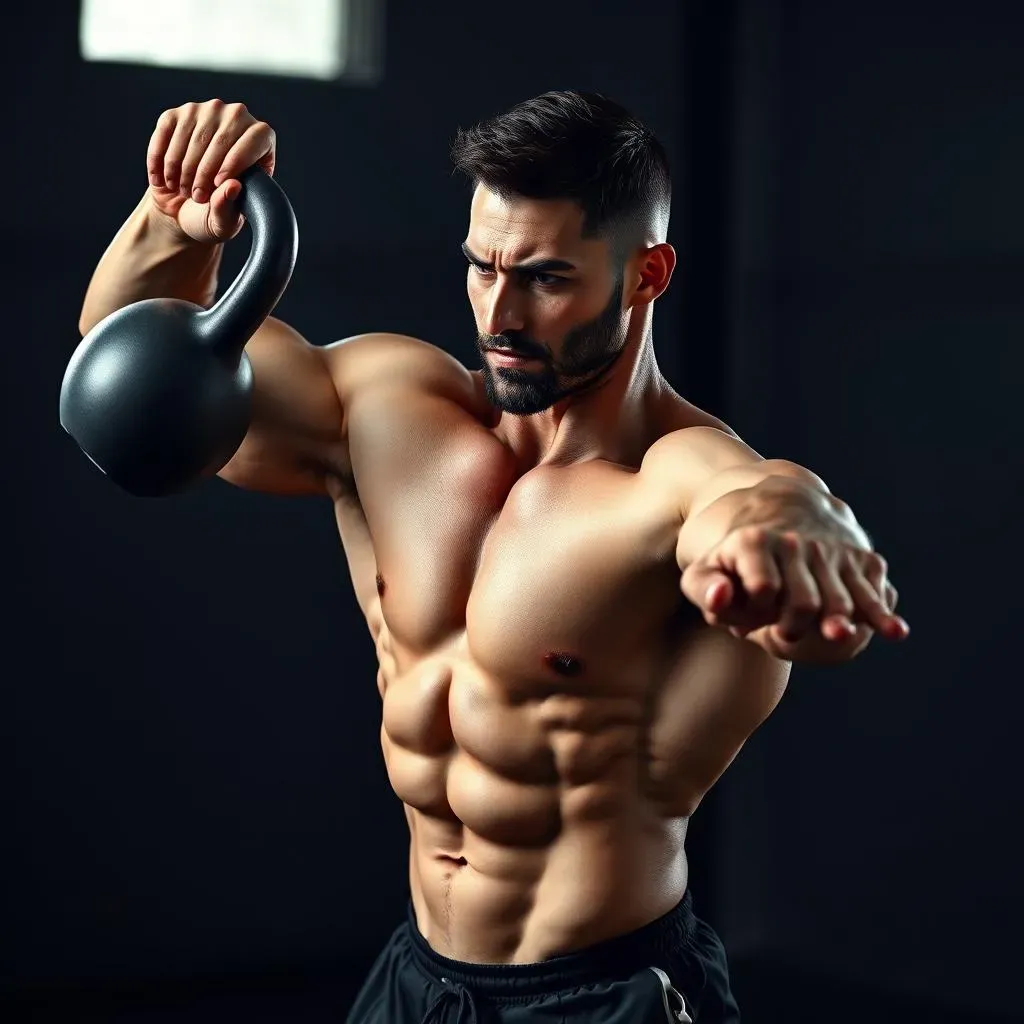
SingleArm Row: Building Back Strength with Kettlebells
SingleArm Row: Building Back Strength with Kettlebells
Why Single-Arm Rows Should Be Your New Best Friend
Let's be real, who doesn't want a stronger back? And while pull-ups might be the gold standard, single-arm rows with a kettlebell offer a fantastic alternative, especially if you're looking to build serious strength and stability. This exercise isn't just about pulling weight; it's about engaging your entire core, stabilizing your spine, and building a balanced physique. Plus, working one arm at a time helps iron out any strength imbalances you might have. No more favoring one side over the other!
The beauty of the single-arm row lies in its simplicity and effectiveness. You're not just working your lats; you're also hitting your rhomboids, traps, and even your biceps. And because you're supporting yourself with one arm, your core has to work overtime to keep you stable. This translates to better posture, improved athletic performance, and a reduced risk of back pain. It's like a two-for-one deal for your back and core. What’s not to love?
Perfecting Your Form: The Key to Gains
Alright, now that we're on the same page about why single-arm rows are awesome, let's talk about how to do them right. Poor form not only reduces the effectiveness of the exercise but also increases your risk of injury. So, let's break it down step by step.
- Stance: Place one foot forward and the other back, creating a stable base. You can either rest your non-working arm on your front thigh or place it on a bench for support.
- Grip: Grab the kettlebell with a firm grip, keeping your back straight and your core engaged.
- The Pull: Pull the kettlebell towards your chest, keeping your elbow close to your body. Focus on squeezing your shoulder blade as you pull.
- The Lower: Slowly lower the kettlebell back to the starting position, maintaining control throughout the movement.
A few key points to remember: Keep your back straight and avoid rounding your shoulders. Engage your core to maintain stability. And focus on controlled movements, both on the way up and on the way down.
Form Cue | Why It Matters |
|---|---|
Straight Back | Prevents injury, engages correct muscles. |
Engage Core | Provides stability, protects spine. |
Elbow Close to Body | Targets lats effectively. |
Controlled Movements | Maximizes muscle engagement, reduces risk of injury. |
Variations and Progressions: Keeping It Fresh
Once you've mastered the basic single-arm row, it's time to mix things up and challenge yourself further. There are several variations you can try to keep your workouts fresh and continue making progress.
One option is to elevate your front foot, which increases the range of motion and challenges your core even more. Another is to use a heavier kettlebell, gradually increasing the weight as you get stronger. You can also try performing the rows on an unstable surface, like a balance board, to further challenge your stability. And for an extra challenge, try adding a pause at the top of the movement, squeezing your shoulder blade for a second or two before lowering the weight. The possibilities are endless!
SingleArm Swing: Kettlebell Power for Legs and Core
SingleArm Swing: Kettlebell Power for Legs and Core
Unleash Explosive Power with Single-Arm Swings
let's talk about one of my absolute favorite kettlebell movements: the single-arm swing. This exercise is a powerhouse for developing explosive power in your legs and strengthening your core. It's not just about swinging a weight; it's about learning to generate force from the ground up, engaging your glutes, hamstrings, and core in a coordinated effort. The single-arm variation adds an extra layer of challenge, forcing your core to work overtime to stabilize your body. Think of it as a dynamic plank with a weight attached. Seriously, if you want to feel like a total badass, master the single-arm swing.
So, what makes the single-arm swing so special? First off, it's a fantastic way to improve your cardiovascular fitness. You'll be breathing hard after just a few sets, I promise. But more importantly, it's a phenomenal tool for building functional strength and power. You're not just isolating a single muscle group; you're engaging your entire posterior chain in a dynamic movement that mimics real-world activities. Whether you're sprinting, jumping, or just carrying groceries, the single-arm swing will make you stronger and more resilient. Plus, it's a great way to improve your grip strength, which is something we often overlook. It’s a win-win.
Nailing the Technique: Form Over Everything
Alright, before you start swinging that kettlebell around like a maniac, let's make sure you've got the technique down. Proper form is crucial for preventing injuries and maximizing the benefits of the exercise. Here’s a step-by-step guide to help you nail it:
- Stance: Stand with your feet slightly wider than shoulder-width apart, with the kettlebell in front of you.
- The Hike: Hinge at your hips, keeping your back straight, and grab the kettlebell with one hand. Hike the kettlebell back between your legs, like you're hiking a football.
- The Swing: Explosively extend your hips and knees, using that momentum to swing the kettlebell forward. Keep your arm straight and let the kettlebell swing up to chest height.
- The Descent: Allow the kettlebell to swing back down between your legs, controlling the movement with your hips and hamstrings.
Key points to remember: Engage your glutes and hamstrings to generate power, not your arms. Keep your back straight and avoid rounding your shoulders. And focus on a smooth, controlled motion. Don't let the kettlebell control you; you control the kettlebell.
Form Cue | Why It Matters |
|---|---|
Engage Glutes and Hamstrings | Generates power, protects lower back. |
Straight Back | Prevents injury, engages correct muscles. |
Smooth, Controlled Motion | Maximizes muscle engagement, reduces risk of injury. |
Variations and Progressions: Level Up Your Swings
Once you've mastered the basic single-arm swing, it's time to explore some variations and progressions to keep challenging yourself. One option is to increase the weight of the kettlebell, gradually adding more resistance as you get stronger. You can also try performing the swings with a wider stance, which increases the range of motion and challenges your hips and glutes even more. Another variation is the alternating single-arm swing, where you switch hands at the top of each swing. This adds an extra layer of coordination and challenges your core even further. And for an advanced challenge, try the single-arm snatch, which is a more explosive version of the swing that brings the kettlebell overhead. The possibilities are endless!
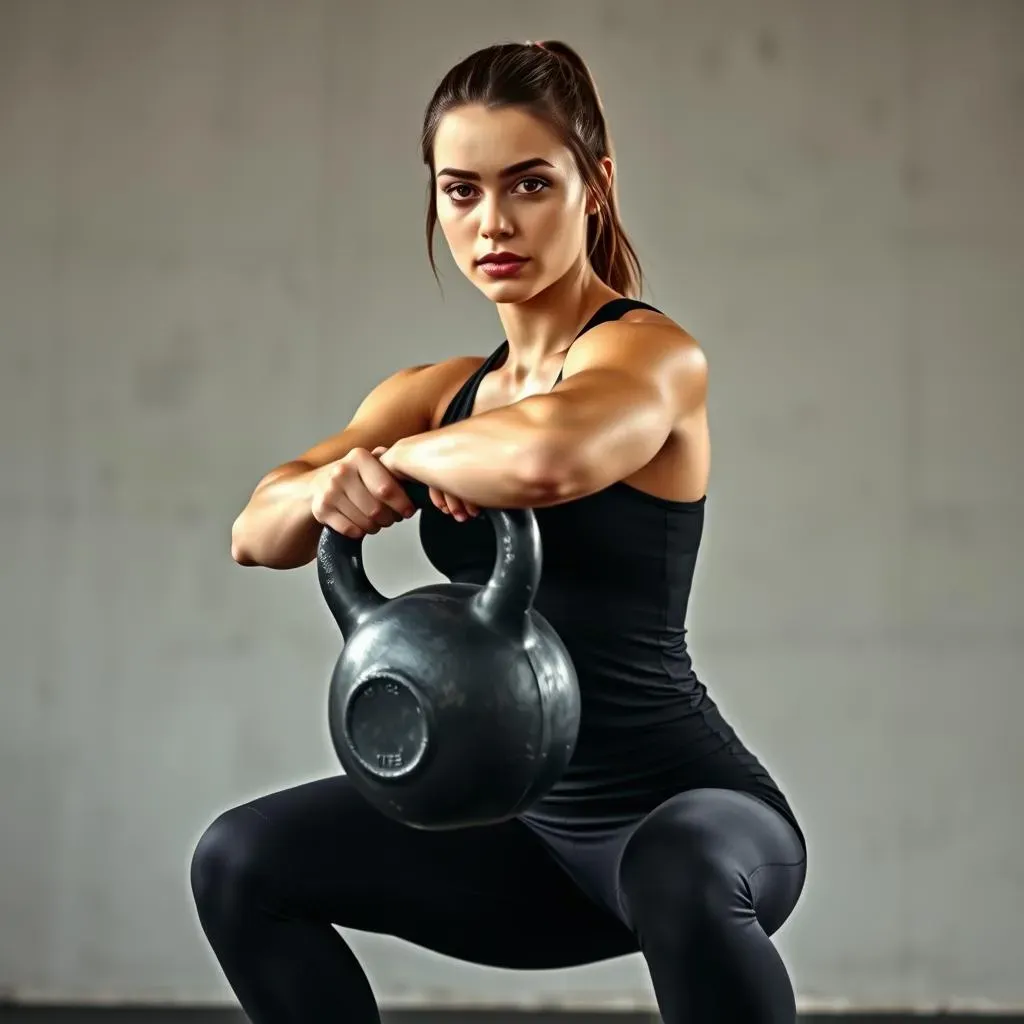
Goblet Squat: Mastering Leg Day with a Kettlebell
Goblet Squat: Mastering Leg Day with a Kettlebell
The Goblet Squat: Your Secret Weapon for Leg Day
Alright, let's dive into one of the most effective and accessible leg exercises out there: the goblet squat. If you're looking to build strength, improve your squat form, and torch your quads, then this is the exercise for you. The goblet squat is a fantastic variation that not only strengthens your legs but also improves your core stability and posture. Holding the kettlebell in front of your chest acts as a counterbalance, allowing you to squat deeper and maintain a more upright torso. It's like having a built-in squat coach!
What makes the goblet squat so awesome? For starters, it's incredibly versatile. Whether you're a beginner just learning the ropes or an experienced lifter looking to refine your technique, the goblet squat can be adapted to suit your needs. It's also a great way to address common squatting issues, such as rounding your back or leaning forward. By holding the kettlebell in front of you, you're forced to engage your core and maintain a more upright posture, which translates to better form and reduced risk of injury. Plus, it's a fantastic way to build strength and muscle in your quads, glutes, and hamstrings. What’s not to love?
Perfecting Your Form: The Key to a Killer Squat
Now, let's talk about how to do the goblet squat correctly. Proper form is crucial for maximizing the benefits of the exercise and preventing injuries. Here’s a step-by-step guide to help you nail it:
- Stance: Stand with your feet slightly wider than shoulder-width apart, with your toes pointing slightly outward. Hold the kettlebell close to your chest, gripping it by the horns.
- The Descent: Keeping your back straight and your core engaged, lower your body down into a squat. Aim to get your thighs parallel to the ground, or even slightly below parallel if you can.
- The Ascent: Push through your heels to return to the starting position, squeezing your glutes at the top.
Key points to remember: Keep your back straight and avoid rounding your shoulders. Engage your core throughout the movement. And focus on controlled movements, both on the way down and on the way up.
Form Cue | Why It Matters |
|---|---|
Straight Back | Prevents injury, engages correct muscles. |
Engage Core | Provides stability, protects spine. |
Controlled Movements | Maximizes muscle engagement, reduces risk of injury. |
Thighs Parallel to Ground | Ensures full range of motion, maximizes muscle activation. |
Variations and Progressions: Keeping It Challenging
Once you've mastered the basic goblet squat, it's time to explore some variations and progressions to keep challenging yourself. One option is to increase the weight of the kettlebell, gradually adding more resistance as you get stronger. You can also try performing the squats with a pause at the bottom, which increases the time under tension and challenges your muscles even more. Another variation is the elevated goblet squat, where you stand on a slightly elevated surface, like a weight plate, to increase the range of motion. And for an advanced challenge, try the jump goblet squat, which adds an explosive element to the exercise. The possibilities are endless!
Wrapping Up Your Kettlebell Leg and Shoulder Workout
So, you've conquered the kettlebell flow! By now, your muscles should be feeling that satisfying burn, and your heart rate should be elevated. Remember, consistency is key. Integrate this kettlebell leg and shoulder workout into your routine a few times a week, and you'll see noticeable improvements in strength, endurance, and overall fitness. Don't be afraid to adjust the weight or reps as you progress. The most important thing is to maintain proper form and challenge yourself. Now go forth and swing those kettlebells with confidence!