Table of Contents
Tired of the same old bicep curls? Ready to unlock some serious arm growth? Then you've come to the right place. We're not just talking about your standard dumbbell curls, oh no. We're diving headfirst into the world of kettlebells. Why? Because a biceps workout with kettlebell can offer a unique kind of challenge. The shape of the kettlebell shifts the weight, forcing your muscles to work differently. It's like your biceps are suddenly facing a new boss in the gym, and they’re going to have to step it up to impress. This article will guide you through six killer kettlebell exercises that will not only build your biceps but also boost your overall strength and stability. From the foundational standing curl to the more advanced reverse bottoms-up curl, each move is designed to target your biceps in a unique way. Get ready to feel the burn, learn some new techniques, and finally achieve the arm gains you’ve been dreaming about. Let's get to it!
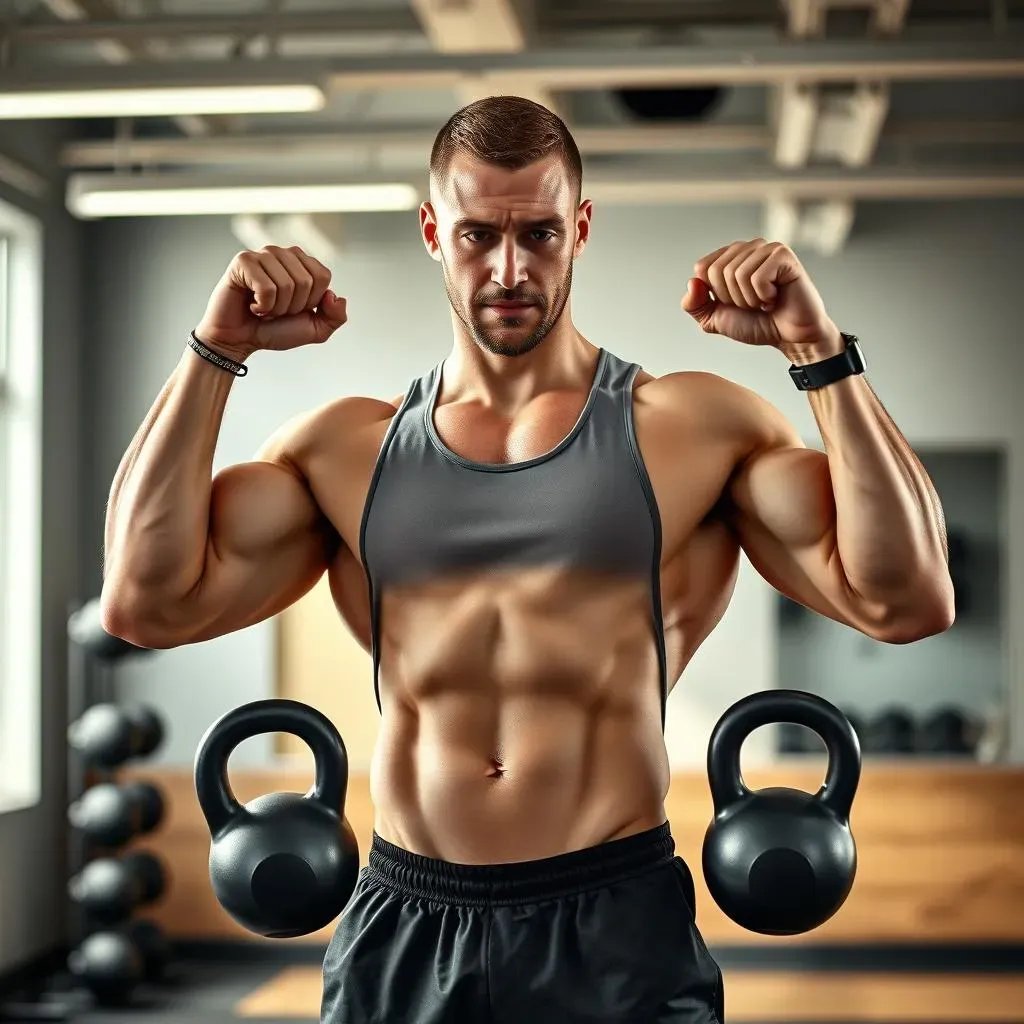
Standing Kettlebell Curls: The Foundation
Standing Kettlebell Curls: The Foundation
Why Start Here?
so you want biceps that pop? Let's talk basics. Standing kettlebell curls aren't just some warm-up exercise; they’re the bedrock of a solid arm routine. Think of it like building a house: you wouldn’t start with the roof, right? The standing curl is your foundation. It’s where you learn to control the weight, feel the tension, and engage those biceps properly. This isn't about just swinging the kettlebell up and down. It's about a controlled movement that maximizes muscle activation. Plus, it's a fantastic way to get a feel for how kettlebells work, which is different from dumbbells. Trust me, once you master this, the other variations will feel much more natural.
Here's the thing: the way the kettlebell's weight is distributed means you're getting constant tension throughout the entire movement. It’s not like dumbbells where the resistance can sometimes feel easier at the top or bottom. With a kettlebell, your muscles have to work harder to stabilize and control the weight, leading to better muscle fiber recruitment. Think of it as giving your biceps a constant challenge, forcing them to adapt and grow. Standing curls also help you build a strong mind-muscle connection, which is crucial for effective training. You’ll learn to feel your biceps working with every rep. It’s not just about lifting; it's about feeling the muscle contract.
Key Benefit | Why It Matters |
|---|---|
Constant Tension | More muscle activation and growth |
Improved Control | Better form and reduced risk of injury |
Mind-Muscle Connection | Enhanced muscle growth and training effectiveness |
How to Nail It
Alright, let's get into the nitty-gritty. You're going to stand with your feet shoulder-width apart, holding a kettlebell in each hand, palms facing forward. Keep your core tight; this isn't just an arm exercise – it's a full-body movement. Now, slowly curl the kettlebells up, focusing on squeezing your biceps at the top. Make sure your elbows stay tucked in; no flaring out like you're trying to fly. Control the weight on the way down, don't just let it drop. That negative part of the rep is where a lot of the magic happens.
I've seen so many people rush through the reps, they think they're doing a "good job" but they are just swinging the weight! Slow it down and focus on your form. Think about each rep as a mini-masterpiece, a perfect contraction. Don't try to go too heavy, especially when you're starting. It’s better to use a lighter weight with good form than a heavier weight with sloppy form. You'll get more out of the exercise, and you'll be less likely to hurt yourself. Plus, you'll look way more impressive doing a smooth rep instead of a jerky one. Trust me on this.
Incline Kettlebell Curls: Maximizing Muscle Growth
Incline Kettlebell Curls: Maximizing Muscle Growth
Why Incline?
Alright, so you've nailed the standing curls, good job! Now, let's crank things up a notch. Incline kettlebell curls are where you start to see some serious changes in your biceps. Why? Well, this position changes the angle of the muscle fibers, hitting them in a way that standing curls just can't. It’s like switching from a regular guitar pick to a thumb pick; you get a whole different sound. By placing your body on an incline, you’re essentially increasing the range of motion and the stretch on your biceps, especially at the bottom of the curl. This extra stretch leads to more muscle damage and better growth. Plus, it forces you to work harder to keep the weight stable, which means more activation.
Think of it like this: when you're standing, gravity's pulling the weight straight down. But on an incline, gravity is working against you at a different angle. This makes your biceps work harder to pull the weight up and control it on the way down. It's a sneaky way to make the same weight feel heavier. Incline curls aren't just about the stretch and the angle; they also exploit three major mechanisms of muscle hypertrophy: muscle damage, mechanical tension, and even an occlusion-like effect. That may sound complicated, but all it means is that your biceps are going to get a serious workout. It's a growth party, and your biceps are the guests of honor.
Mechanism | Explanation |
|---|---|
Muscle Damage | Increased stretch leads to micro-tears in muscle fibers. |
Mechanical Tension | Greater force production required to lift the weight. |
Occlusion Effect | The incline position can slightly restrict blood flow, leading to a greater pump. |
How to Execute
let’s talk about how to get this done. You'll need an adjustable bench, set to an incline of about 45 degrees. Grab your kettlebells and sit with your back firmly against the bench. Hold the kettlebells with your palms facing forward, letting your arms hang straight down. Now, curl the kettlebells up towards your shoulders, focusing on squeezing your biceps at the top. Keep your elbows tucked in and try not to let them move forward. Control the weight as you lower it back down, really fighting the gravity. Don't just let the weight drop; make your muscles work throughout the entire movement. I cannot stress this enough, control the weight.
I know it might be tempting to use a heavier weight, but for these, form is key. It's not about how much weight you can lift, it’s about how well you can control the weight. Start with a weight that allows you to complete 8-12 reps with good form. If you find yourself swinging or using momentum, then it's time to drop the weight. The incline position can make this exercise a bit harder on your shoulders, so make sure you’re warmed up and ready to go. Think of each rep as a chance to make your biceps stronger and more defined. It's not a race; it's a journey, and your biceps will thank you for it.
Kettlebell Hammer Curls: Targeting the Biceps and Forearms
Kettlebell Hammer Curls: Targeting the Biceps and Forearms
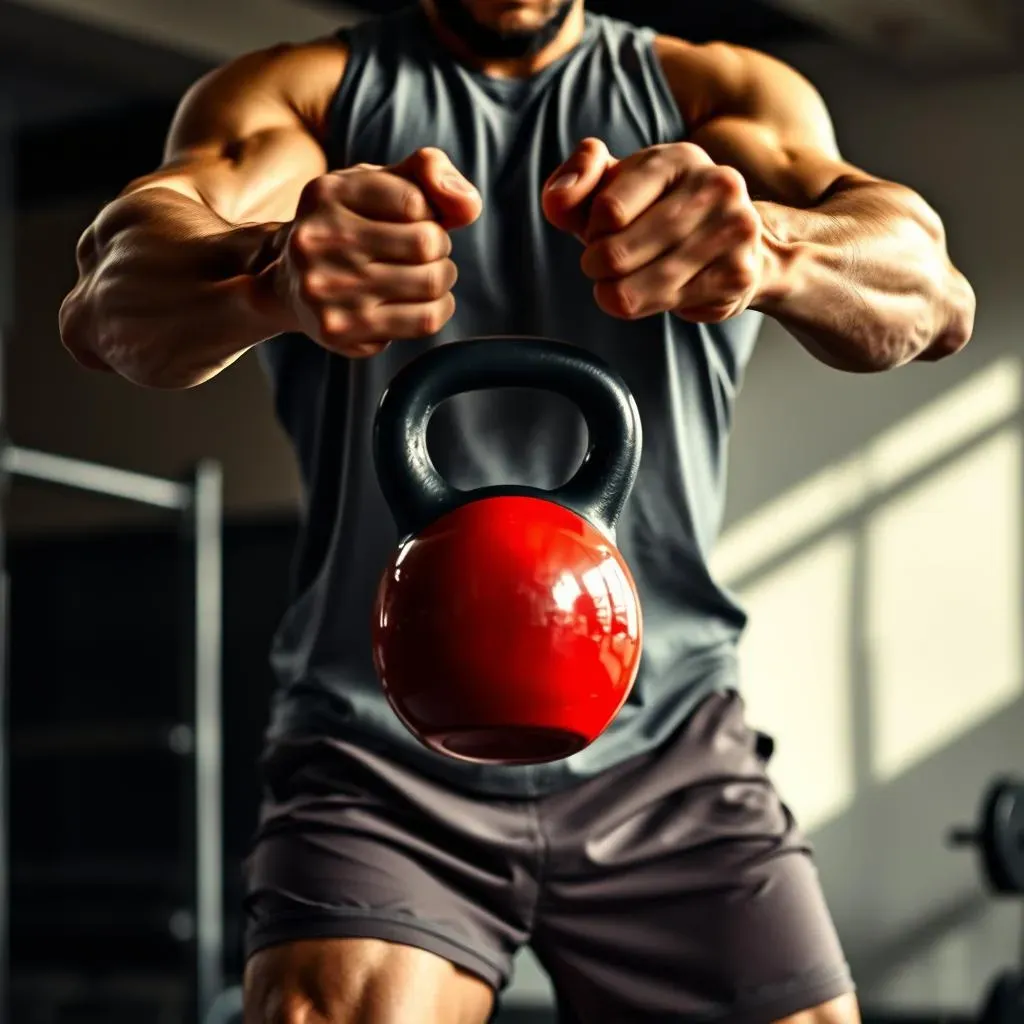
Why Hammer Time?
so we've got the standard curls down, and we've crushed those incline curls. Now, let's talk about hammer curls with kettlebells. These aren't just another variation; they're a game changer. Hammer curls hit your biceps a little differently, but they also bring your forearms into the mix. It’s like upgrading from a regular sword to a battle axe – more power, more impact. The neutral grip, where your palms face each other, targets the biceps brachialis, a muscle that sits underneath the main bicep muscle, as well as the brachioradialis in your forearms. This means you’re not just building bigger biceps, you're also building stronger, more defined forearms. It's a win-win situation.
Think about it: when you do a regular curl, you're primarily hitting the biceps peak. But when you switch to a hammer curl, you're hitting the entire arm, front to back. This leads to a more balanced and complete arm development. Plus, the grip you use in a hammer curl can be more comfortable for some people, especially if you've got wrist issues. It's a great exercise for those who want to build not just size, but functional strength. It's not just about aesthetics; it's about real-world power. And let's be honest, who doesn't want stronger forearms? It's like having a secret weapon in everyday life.
Muscle Targeted | Benefit |
|---|---|
Biceps Brachialis | Adds thickness to the biceps |
Brachioradialis | Improves forearm strength and size |
Biceps Peak | Still engaged, but with less emphasis than traditional curls |
How to Perform
Alright, let's get into the how-to. Stand with your feet shoulder-width apart, holding a kettlebell in each hand. This time, your palms should be facing each other, like you're holding a hammer. Keep your elbows tucked in, and curl the kettlebells up towards your shoulders. Focus on squeezing your biceps and forearms at the top. Control the weight as you lower it back down, making sure you’re not just letting it drop. The key here is to keep your wrists straight; don't let them bend or wobble. It's all about controlled movement and squeezing the muscles.
I've noticed that people tend to use a bit more weight on hammer curls than they do on regular curls. While that might feel good, resist the urge to go too heavy. It's better to use a weight that allows you to complete 10-15 reps with good form. If you find yourself swinging or using momentum, you need to drop the weight. This exercise isn't about ego lifting, it's about building muscle and strength. Think of each rep as an opportunity to build a more well-rounded and powerful arm. It’s not just about lifting; it's about feeling the muscles work. And trust me, you'll feel it in your biceps and forearms the next day.
Kneeling Alternate Kettlebell Curls: Strict Form and Tension

Kneeling Alternate Kettlebell Curls: Strict Form and Tension
Why Kneel Down?
so we've covered a lot of ground, but trust me, it gets even better. Kneeling alternate kettlebell curls might seem like a small tweak, but they bring a whole new level of intensity to your bicep training. The kneeling position eliminates the temptation to use your legs for momentum. This forces your biceps to do all the work. It's like putting your biceps in a straight jacket; they can't cheat, they just have to work. Plus, doing one arm at a time means you’re focusing on each bicep individually, ensuring balanced development. It's like giving each arm its own personal training session. This promotes strict form, reduced momentum, and heightened continuous tension.
Think of it this way: when you're standing, it's easy to rock your body back and forth to get the weight up. But when you're kneeling, you're grounded, and your biceps become the sole engine of the movement. This not only makes the exercise harder, but it also helps you develop a stronger mind-muscle connection. You're forced to really feel the muscle working with every single rep. It's like focusing a magnifying glass on your biceps, making sure every fiber is engaged. And the alternating part? It's like giving your biceps a mini-break between reps, which allows you to maintain a higher level of intensity throughout the set. It's a sneaky way to get more work in without burning out too quickly.
Benefit | Explanation |
|---|---|
Eliminated Momentum | Forces biceps to do all the work. |
Balanced Development | Focus on each bicep individually. |
Heightened Tension | Continuous muscle engagement throughout the set. |
How to Execute
Alright, let's get into the how-to. Kneel down on a mat or soft surface, holding a kettlebell in each hand. Start with the kettlebells hanging at your sides, palms facing forward. Now, curl one kettlebell up towards your shoulder, focusing on squeezing your bicep at the top. As you lower that weight, immediately curl the other kettlebell up. It's like you're rowing with your biceps. The key here is to keep your core tight and your back straight; don't let your body rock or sway. Your elbows should stay tucked in, and the movement should be smooth and controlled. It's not a race; it's about feeling the muscle contract and working hard.
I've seen so many people try to rush through these, but that's a mistake. Slow it down, and focus on the contraction. Each rep should feel like you're squeezing your bicep as hard as you can. Don't try to go too heavy, especially when you're starting. It’s better to use a lighter weight with good form than a heavier weight with sloppy form. You'll get more out of the exercise, and you'll be less likely to hurt yourself. Plus, you'll look way more impressive doing a smooth rep instead of a jerky one. Trust me on this. Think of each rep as a chance to build a more defined and powerful arm, one bicep at a time. It's not just about lifting; it's about feeling the muscles work.
Isolateral Kettlebell Squat and Curl: FullBody Engagement
Isolateral Kettlebell Squat and Curl: FullBody Engagement
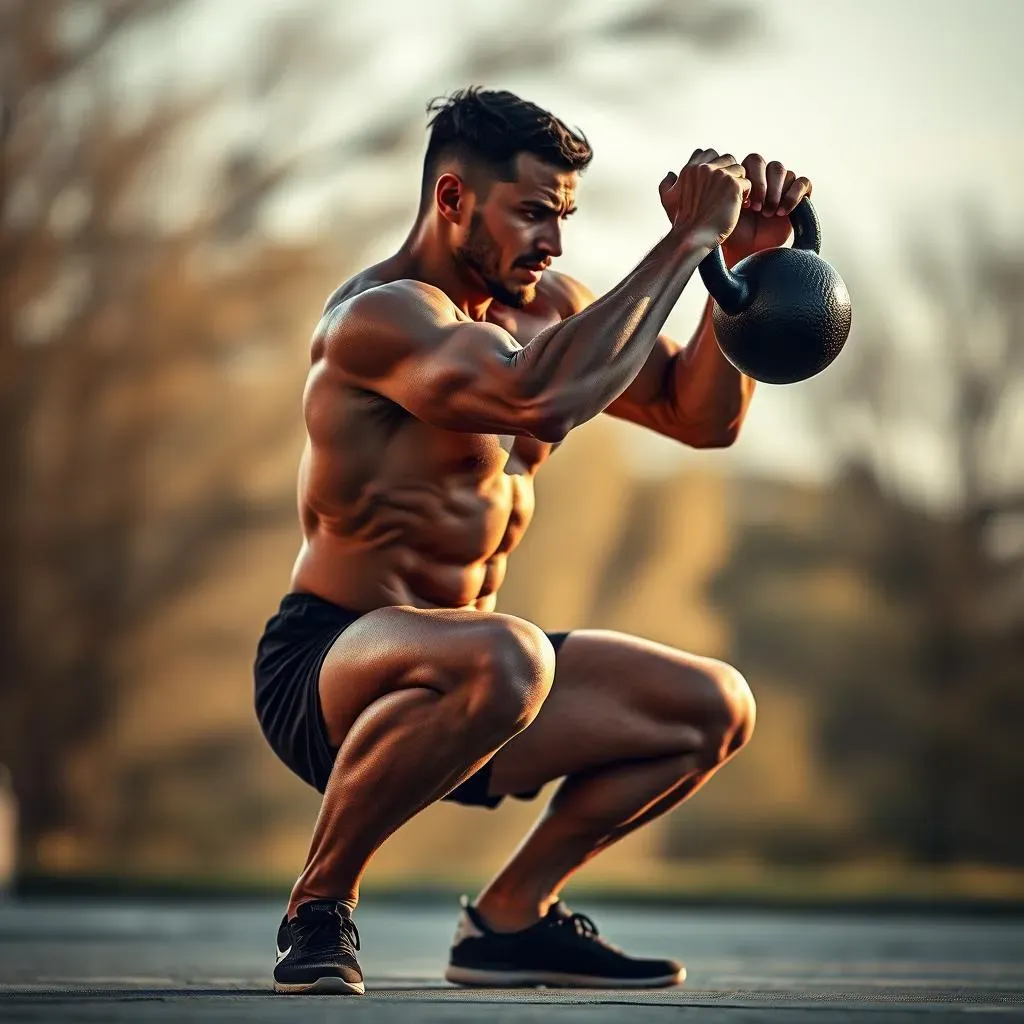
Why Combine Squats and Curls?
so we've isolated the biceps, now let's get a little more creative. The isolateral kettlebell squat and curl is where things get really interesting. We're not just targeting the biceps anymore; we're bringing the whole body into the mix. This exercise combines the power of a squat with the focus of a curl. It’s like turning your workout into a symphony, where every muscle plays a part. You're not just building arm strength; you're also improving your lower body strength, mobility, and core stability. It's a functional exercise that mimics real-world movements. It's like adding a turbocharger to your workout, giving you more bang for your buck.
Think about it: when you squat, you're engaging your quads, glutes, and hamstrings. When you add a curl, you're activating your biceps. And because it's isolateral—meaning one side at a time—you're also improving your balance and coordination. It's like teaching your body to work as a single unit, rather than a bunch of separate parts. This exercise is fantastic for anyone looking to build overall strength and athleticism, not just big biceps. It's a way to train smarter, not just harder. It's like combining your favorite flavors into one delicious dish; you get a complete and satisfying experience.
Benefit | Explanation |
|---|---|
Full-Body Engagement | Works multiple muscle groups simultaneously. |
Improved Mobility | Enhances hip and ankle flexibility. |
Enhanced Coordination | Improves balance and body control. |
How to Perform
Alright, let's get into the nitty-gritty. Stand with your feet shoulder-width apart, holding a kettlebell in one hand. Your other hand can be out to the side for balance. Now, lower yourself into a squat, making sure your back stays straight and your core is engaged. As you come up from the squat, curl the kettlebell up towards your shoulder. It's like you're doing a squat and a curl at the same time, but one arm at a time. Lower the weight back down as you go back into your squat. Then repeat on the other side. The key here is to keep the movement smooth and controlled; don't let momentum take over. It's like dancing with the kettlebell, flowing from one movement to the next.
I've seen people try to rush through this exercise, but it's not a race. Slow it down, and focus on the form. The squat and the curl should be a single, fluid motion. Make sure you’re using a weight that allows you to maintain good form throughout the entire set. If you find yourself wobbling or losing control, it's time to drop the weight. This exercise is more about control and coordination than it is about lifting heavy. Remember, it’s like a dance; you need to be graceful and intentional with each step. Think of each rep as an opportunity to build strength, mobility, and coordination. It's not just about lifting; it's about moving with purpose.
Reverse BottomsUp Biceps Curls with Kettlebells: Posture and Wrist Strength
Reverse BottomsUp Biceps Curls with Kettlebells: Posture and Wrist Strength
Why Go Bottoms Up?
so we've explored a bunch of ways to curl with kettlebells, but this one is a bit different. Reverse bottoms-up biceps curls are like the secret level in a video game. They’re challenging, they demand focus, and they bring a unique set of benefits. When you flip the kettlebell upside down, you instantly change the way the weight works. It's no longer a stable mass; it becomes a wobbly, unpredictable force that requires your muscles to work overtime to control. This instability forces you to engage your core, stabilize your shoulders, and strengthen your wrists in a way that traditional curls just can’t. It's like your muscles are suddenly doing a tightrope walk, constantly adjusting to stay balanced.
Think of it like this: when you're holding the kettlebell right-side up, the weight is nicely balanced. But when you flip it, the weight is trying to pull your hand down and out. This forces your biceps to work harder, but more importantly, it forces your wrist and forearm muscles to stabilize and control the weight. This not only builds strength, but it also improves your grip and wrist stability, which is crucial for all kinds of exercises. It’s like giving your wrists a mini-workout while you're working your biceps. Plus, because you have to focus so intently on controlling the weight, you're also improving your mind-muscle connection. It's not just about lifting; it's about controlling every single aspect of the movement.
Benefit | Explanation |
|---|---|
Enhanced Stability | Improved shoulder and core engagement. |
Wrist Strength | Builds strength and stability in the wrists. |
Mind-Muscle Connection | Increased focus and control of movement. |
How to Execute
Alright, let’s get into the how-to. Stand with your feet shoulder-width apart, holding a kettlebell in one hand. Flip the kettlebell upside down, so the bell is pointing towards the ceiling. Your grip should be firm, but not overly tight. Now, curl the kettlebell up towards your shoulder, keeping the bell as steady as possible. This is where the magic happens: you have to fight to keep the kettlebell from wobbling. Lower the weight back down slowly, maintaining control. Repeat on the other side. The key is to be smooth and intentional with each rep. It's like you're trying to balance a glass of water on your hand, you have to be very deliberate with your movement.
I've seen people try to muscle through this exercise, but that's a mistake. It's not about lifting heavy; it's about controlling the weight. Start with a lighter weight than you normally use for regular curls, and focus on perfecting your form. If you find yourself struggling to keep the bell steady, it’s time to drop the weight. The goal is to feel the muscles working, not to just get the weight up. Think of each rep as an opportunity to challenge your stability, strength, and focus. It's not just about building bigger biceps; it's about building a stronger, more resilient body. It’s like a balance beam for your muscles, training them to be strong and stable.
Wrapping Up Your Kettlebell Bicep Journey
So, there you have it: six unique kettlebell exercises to seriously challenge your biceps. These aren't your run-of-the-mill curls; they're designed to hit your muscles from every angle, promoting not just growth, but also strength and stability. Remember, it's not just about lifting the weight; it's about controlling the movement and feeling the burn. Incorporate these exercises into your routine, stay consistent, and you'll be well on your way to achieving those impressive biceps you've been working towards. Don't be afraid to experiment, find what works best for you, and most importantly, have fun with it. Now go forth and conquer those kettlebells!