Table of Contents
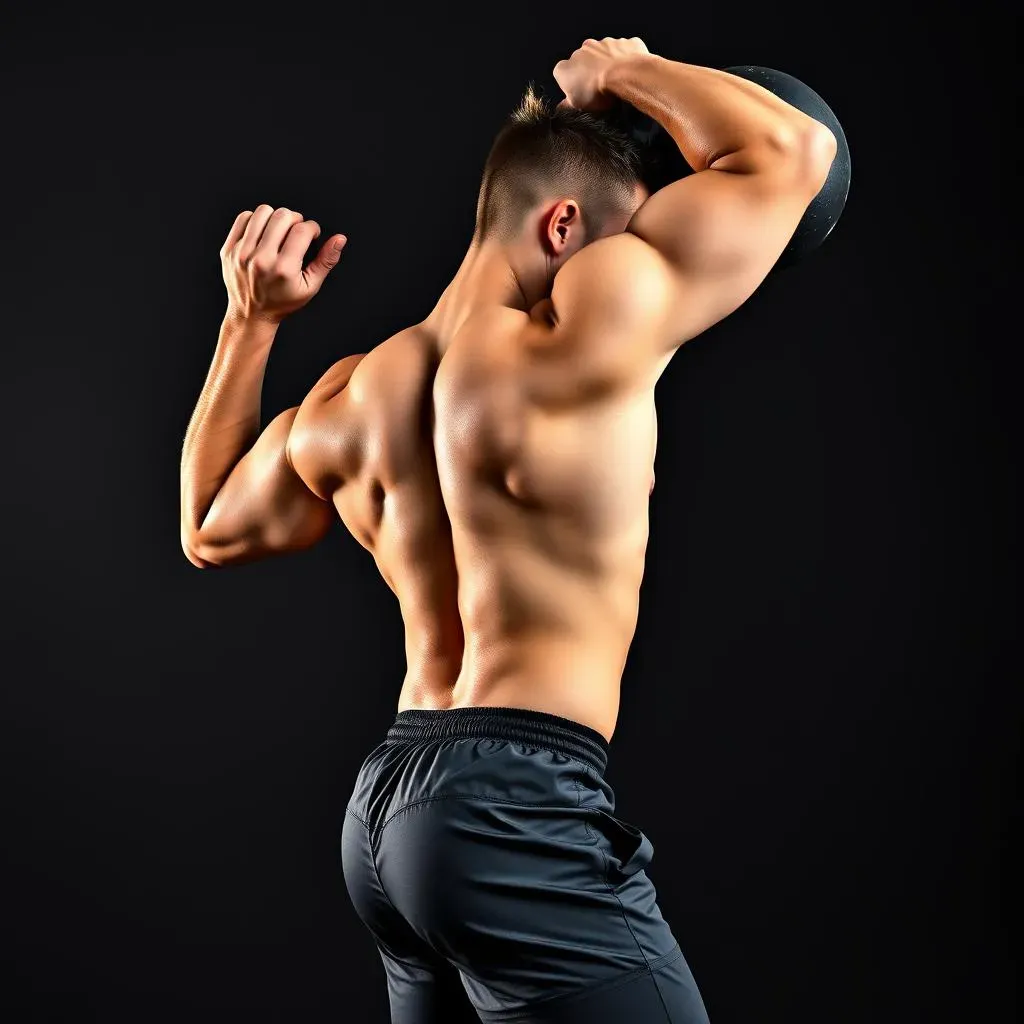
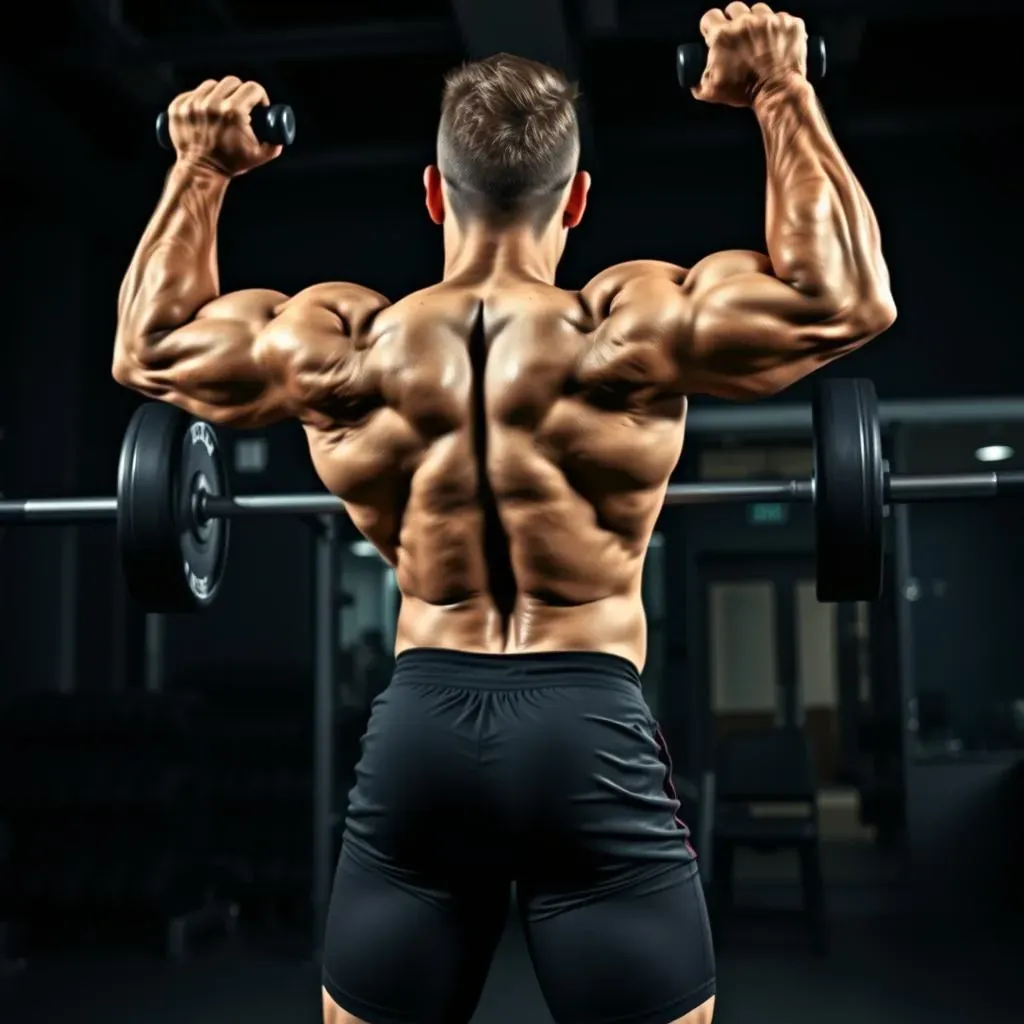
Ready to supercharge your fitness routine without needing a fancy gym membership or complicated equipment? Then grab your kettlebell – that's right, that oddly shaped weight you've been eyeing suspiciously – and get ready to discover the secrets to incredible strength and conditioning. This article will unveil the 4 best kettlebell exercises that will transform your workouts. We'll break down each exercise, step-by-step, showing you the correct form to maximize results and minimize the risk of injury. Forget those boring, repetitive routines; kettlebells add a dynamic element, challenging your entire body in ways you never thought possible. Whether you're a seasoned fitness enthusiast or just starting your fitness journey, this guide is your passport to a stronger, more resilient you. We'll cover everything from the explosive Kettlebell Swing to the full-body challenge of the Turkish Get-Up, guiding you through the proper techniques for each. Get ready to unlock your fitness potential and discover why these 4 best kettlebell exercises are a must-have in any workout plan. Let's get started!
Mastering the Kettlebell Swing: Technique and Variations
Mastering the Kettlebell Swing: Technique and Variations
The Foundation: Setting Up for Success
Alright, let's talk kettlebell swings. This isn't some dainty little arm movement; it's a powerful, full-body exercise that'll work your posterior chain (think glutes, hamstrings, and lower back) like crazy. Imagine a powerful hip hinge, like you're trying to push your hips back as if sitting in a chair. That's the core movement. Your back should remain straight, and your core engaged, it's like bracing yourself for a punch. Keep your chest up and shoulders relaxed. Start with a lighter kettlebell to master the form first. Trust me, you'll feel the burn in places you didn't even know existed!
Before you even think about swinging that kettlebell, you need to find the right stance. Feet shoulder-width apart, slightly pointed outwards. The kettlebell should be positioned between your legs, and you'll grip it firmly with both hands. Think about maintaining a neutral spine and a slight bend in your knees. This is where you'll start building that all-important power base. For beginners, I recommend checking out our beginner kettlebell routine to build a strong foundation. Remember, proper form is key to avoid injury and maximize results.
Body Part | Action | Focus |
|---|---|---|
Feet | Shoulder-width apart, slightly outward | Stable base |
Knees | Slightly bent | Power generation |
Hips | Hinge movement | Primary power source |
Back | Straight, neutral spine | Injury prevention |
The Swing: Power Through the Hips
Now for the fun part – the swing itself! The power doesn't come from your arms; it explodes from your hips. Think of it like this: you're not lifting the kettlebell, you're driving it upwards using the power of your legs and hips. As you hinge at your hips, the kettlebell will swing between your legs. Then, using that explosive hip drive, you'll swing the kettlebell upwards to about chest height. Maintain that straight back and engaged core throughout the movement. It should feel fluid and powerful, not jerky or forced. Your arms are simply along for the ride; they don't do the lifting.
Don't get discouraged if it doesn't feel perfect right away. Mastering the kettlebell swing takes practice. Start with slow, controlled movements to get a feel for the technique. Gradually increase your speed and power as you become more comfortable. Watch videos, check out our beginner kettlebell program, and don't be afraid to ask for guidance from experienced lifters. Consistency is key; even a few swings each day will make a difference. Remember, the goal isn't just to lift the weight, but to develop power and coordination.
- Hinge at the hips, not the waist.
- Engage your core throughout the movement.
- Drive the kettlebell with your hips, not your arms.
- Keep your back straight and chest up.
- Control the weight on the descent.
Variations on a Theme
Once you've nailed the basic kettlebell swing, it's time to explore some variations. This is where things get really interesting! You can try different grips (like a single-arm swing for added challenge), change the weight, or even incorporate the swing into more complex exercises. The American swing takes the kettlebell to shoulder height, while the Russian swing only goes to chest height. Experiment to find what works best for you. Remember to listen to your body and avoid pushing yourself too hard, especially when starting out. Check out our 15-minute kettlebell workout for a taste of what's possible.
The beauty of the kettlebell swing lies in its versatility. It's a fantastic cardio workout, a killer strength builder, and a great way to improve your overall fitness. Don't be afraid to get creative and experiment with different variations. You can incorporate it into HIIT workouts, strength training routines, or even use it as a warm-up. The possibilities are endless! And remember, always prioritize proper form over speed or weight. Safety first, people! If you’re looking for a comprehensive guide, check out our ultimate guide on kettlebells.
Building Strength with Goblet Squats

Building Strength with Goblet Squats
The Goblet Squat: A Foundation of Strength
So, you're ready to tackle goblet squats? Fantastic! This exercise is a game-changer. It's a fundamental movement that builds lower body strength, improves core stability, and enhances overall athleticism. Unlike other squats, the goblet squat uses a kettlebell held close to your chest, almost like you’re hugging it. This position helps maintain good posture and keeps your back safe. It's a surprisingly effective exercise, much more challenging than it looks. Imagine the power you'll gain!
To start, stand with your feet shoulder-width apart, toes slightly pointed outwards. Hold the kettlebell vertically against your chest, gripping the handle firmly. Now, lower yourself as if sitting back into a chair, maintaining a straight back and engaged core. Your knees should track over your toes; don't let them cave inwards. Your depth should be such that your thighs are parallel to the floor or slightly below. Then, push through your heels to return to the starting position. Remember, proper form is crucial, so start with a lighter kettlebell and focus on the technique. For more beginner-friendly exercises, check out our beginner kettlebell workouts.
- Feet shoulder-width apart
- Hold kettlebell close to chest
- Sit back, maintain straight back
- Knees track over toes
- Push through heels to stand
Variations and Progressions
Once you've mastered the basic goblet squat, don't stop there. There are tons of ways to modify and progress this exercise. You can increase the weight of the kettlebell, add reps, or even incorporate pauses at the bottom of the squat to increase muscle activation. You can also try single-leg goblet squats for an even greater challenge. This will really test your balance and leg strength. Remember, progress gradually; don't jump to heavier weights too quickly. Listen to your body and rest when needed.
The goblet squat isn't just about leg strength; it’s a fantastic core workout too. Your core muscles work overtime to maintain stability and balance throughout the movement. As you get stronger, you'll find your core getting stronger too, improving your overall posture and stability. To build a stronger core, check out our kettlebell core workout for beginners. Remember, consistency is key. Even a few sets of goblet squats a couple of times a week can make a big difference in your strength and fitness.
Variation | Description | Benefits |
|---|---|---|
Standard Goblet Squat | Kettlebell held close to chest | Builds overall lower body strength |
Single-Leg Goblet Squat | One leg lifted slightly off the ground | Enhances balance and unilateral strength |
Goblet Squat with Pause | Pause at the bottom of the squat | Increases muscle activation and time under tension |
Incorporating Goblet Squats into Your Routine
Now, let's talk about how to best incorporate goblet squats into your overall fitness routine. They're fantastic as part of a full-body strength training program. You can do them at the beginning of your workout as a warm-up to prime your muscles, or later as part of your main strength-training session. They work well with other kettlebell exercises, like the kettlebell swing, to create a balanced workout that targets all major muscle groups. Think of it as a building block to a stronger you!
Don't underestimate the power of this simple exercise. The goblet squat is a highly effective movement that can significantly improve your overall fitness level. It's a versatile exercise that can be adapted to suit different fitness levels and goals. Whether you're a beginner or an advanced lifter, the goblet squat has a place in your routine. For a sample workout, check out our 15-minute beginner kettlebell workout. Remember, consistency and proper form are key to seeing results. Keep at it, and you'll be amazed at the difference.
The Kettlebell Romanian Deadlift: A Posterior Chain Powerhouse
The Kettlebell Romanian Deadlift: A Posterior Chain Powerhouse
Setting Up for the RDL
Alright, let's talk Romanian Deadlifts (RDLs) with a kettlebell. This isn't your grandpappy's deadlift; it's a focused exercise designed to absolutely torch your hamstrings and glutes—the muscles at the back of your legs and hips. We're talking serious posterior chain engagement. Imagine hinging at your hips, keeping your back straight, and lowering the kettlebell towards the ground. That's the essence of the RDL. It's all about controlled movement and feeling the burn in those often-neglected muscles. It’s a fantastic exercise for building strength and improving posture. Start with a lighter kettlebell to perfect your form before adding weight.
Your starting position is key. Stand with your feet hip-width apart, holding the kettlebell in front of you with an overhand grip. Keep your back straight, chest up, and core engaged—imagine someone's about to punch you in the gut, that's the kind of tension you want. Bend your knees slightly, and maintain a natural curve in your lower back. This is your power position. Now, before you even think about lifting, make sure you're warmed up properly! A quick dynamic stretch routine is a must. If you're a beginner, check out our beginner kettlebell routine for a safe and effective warm-up.
- Feet hip-width apart
- Kettlebell held with overhand grip
- Straight back, chest up, engaged core
- Slightly bent knees
- Maintain natural lower back curve
Executing the RDL
Now, for the movement itself! The power comes from your hips and hamstrings. Hinge at your hips, pushing your hips back as if you're trying to sit down in a chair. Keep your back straight, and let the kettlebell hang naturally. Lower the kettlebell towards the ground, keeping it close to your legs. The movement should be controlled and deliberate, not jerky or rushed. You should feel a significant stretch in your hamstrings as you lower the weight. Lower until you feel the stretch, but don't force it. Stop before your back rounds. This is crucial for injury prevention. Remember, quality over quantity always wins!
Once you've reached the bottom of the movement, squeeze your glutes and hamstrings to drive back up to the starting position. Maintain that straight back and engaged core throughout. The movement should be smooth and controlled. As you get stronger, you can gradually increase the weight of the kettlebell. But remember, proper form is always more important than weight. If you're struggling with form, check out our beginner kettlebell program for detailed instructions and video demonstrations. Focus on perfecting your technique before increasing the weight.
Body Part | Action | Focus |
|---|---|---|
Hips | Hinge movement | Primary power source |
Back | Straight, neutral spine | Injury prevention |
Hamstrings | Controlled stretch and contraction | Muscle activation |
Glutes | Squeeze at the top | Power generation |
Adding RDLs to Your Workout
Incorporating RDLs into your routine is straightforward. They're excellent as part of a full-body strength training program, targeting your posterior chain. You can perform them as part of a lower body day, pairing them with squats and lunges. Or, you can incorporate them into a full-body workout, combining them with exercises like kettlebell swings and presses. Remember to allow for adequate rest between sets to maximize your results. Don’t forget to listen to your body; if something feels off, stop and adjust.
The RDL is a fantastic exercise for building strength and improving posture. It's also a great way to target those often-neglected hamstring muscles. By strengthening your posterior chain, you'll improve your overall athleticism and reduce your risk of injury. Remember to start with a weight that challenges you but allows you to maintain proper form. Progress gradually, focusing on quality over quantity. For more ideas on how to incorporate this exercise into your workout, check out our full-body kettlebell workout for beginners. Consistent effort will pay off!
Kettlebell Turkish GetUps: FullBody Strength and Stability

Kettlebell Turkish GetUps: FullBody Strength and Stability
The Turkish Get-Up: A Full-Body Challenge
Okay, let's talk about the Turkish Get-Up (TGU). This isn't your average exercise; it's a full-body movement that will challenge your strength, balance, and coordination like nothing else. Imagine a controlled, flowing movement that takes you from lying on your back to standing, all while holding a kettlebell. It's a deceptively difficult exercise that builds incredible core strength, improves stability, and enhances overall body awareness. It's like a flowing dance with iron, honestly!
Before you even attempt a TGU, make sure you've mastered the basics. You'll need a decent level of strength and stability. Start with a lighter kettlebell to get the hang of the movement. Focus on controlled movements and smooth transitions. Don't rush it! If you're a beginner, I highly recommend checking out our beginner kettlebell program to build a solid foundation. Trust me, it'll make the TGU so much easier to learn.
- Start with a lighter kettlebell.
- Focus on controlled movements.
- Master the individual phases before combining them.
- Practice regularly for best results.
Mastering the Phases of the TGU
The TGU is broken down into several distinct phases, each requiring precision and control. You'll start by lying on your back with the kettlebell extended above you. Then, you'll roll onto your side, and using your arm and leg, you'll push yourself into a kneeling position. From there, you'll transition to a half-kneeling position, then a standing position. The entire movement should be fluid and controlled. Each phase builds upon the previous one, so mastering each individual step is crucial before moving on. It's like learning a dance routine, one step at a time.
The reverse movement is just as important. Descending from standing to lying down requires equal control and precision. You'll reverse the phases in the same controlled manner, lowering yourself slowly and deliberately. This controlled descent is just as crucial as the ascent for building strength and stability. This is where you’ll really feel the burn in your core and shoulders! If you’re looking for a more concise workout, check out our 15-minute kettlebell workout – it’s a great way to incorporate TGUs.
Phase | Description | Muscles Worked |
|---|---|---|
Lie Down | Start lying on your back with the kettlebell overhead | Core, shoulders |
Roll to Side | Roll onto your side while maintaining control of the kettlebell | Core, obliques |
Kneeling | Come to a kneeling position | Legs, core |
Half-Kneeling | Transition to a half-kneeling position | Legs, core, balance |
Standing | Stand up while maintaining balance and control | Full body |