Table of Contents
Ever feel like one kettlebell just isn't cutting it? You're not alone. The 2 kettlebell deadlift is a game-changer, taking your strength training to the next level. It’s not just about lifting more weight, it's about balance, coordination, and a whole lot of power. This isn't some fancy gym trick; it's a fundamental movement that can pack a serious punch. In this article, we're going to break down why using two kettlebells is so beneficial, from increased muscle activation to improved stability. We'll walk you through a step-by-step guide to performing the lift with perfect form, because let's be honest, nobody wants a back injury. And, because we all make mistakes, we'll tackle the common pitfalls and show you how to correct them. So, ditch the single kettlebell and get ready to unleash your inner beast with the 2 kettlebell deadlift. Let’s get started.
Why Two Kettlebells Are Better Than One for Deadlifts

Why Two Kettlebells Are Better Than One for Deadlifts
Double the Load, Double the Gains
Okay, so you're used to the single kettlebell deadlift, right? It's good, it's solid, but let's be real, it can only take you so far. When you grab a second kettlebell, things get interesting. It's like going from a bicycle to a motorcycle—suddenly you've got more power, more stability, and a whole new level of challenge. With two kettlebells, you're not just lifting more weight; you’re forcing your body to work harder to stabilize the load. This means more muscle activation, especially in your core and back. Think of it like this: one kettlebell is like having a chat with a friend, two is like a full-blown debate – it keeps you on your toes.
It also levels the playing field. Using a single kettlebell can sometimes lead to imbalances; your stronger side might be doing more work, which isn't ideal. Two kettlebells force both sides of your body to pull their weight equally. It's like a perfectly balanced seesaw, making sure no one side is slacking off. This helps build more symmetric strength and reduces the risk of injury. Plus, let's be honest, it just looks cooler. There's something undeniably powerful about hoisting two kettlebells at once.
Enhanced Stability and Core Strength
Using two kettlebells also amps up the stability demand on your body. With a single kettlebell, the weight is off to one side, which can create some wonky movement. Now, with a bell in each hand, you're fighting to keep everything aligned, like a tightrope walker keeping their balance. This is fantastic for your core. It's not just about the ‘six-pack’ muscles. It's about the deep stabilizing muscles that support your spine. When those are strong, you're less likely to get hurt and you'll feel more powerful in all your movements.
And it's not just your core that benefits. Your grip strength also gets a serious workout. Holding onto two heavy kettlebells is no joke; it's like giving your hands a full-time job. This improved grip strength will carry over to other lifts and even everyday tasks. Plus, when you’re lifting two kettlebells, you look like a total boss, and who doesn’t want that? It's a full-body workout that’s as functional as it is impressive.
Benefit | Single Kettlebell Deadlift | Double Kettlebell Deadlift |
|---|---|---|
Load | Moderate | Increased |
Stability | Moderate | High |
Muscle Activation | Good | Higher, especially core and back |
Symmetry | Potential for imbalance | Promotes balanced strength |
Grip Strength | Moderate | High |
StepbyStep Guide to a Perfect 2 Kettlebell Deadlift
StepbyStep Guide to a Perfect 2 Kettlebell Deadlift
Getting Ready
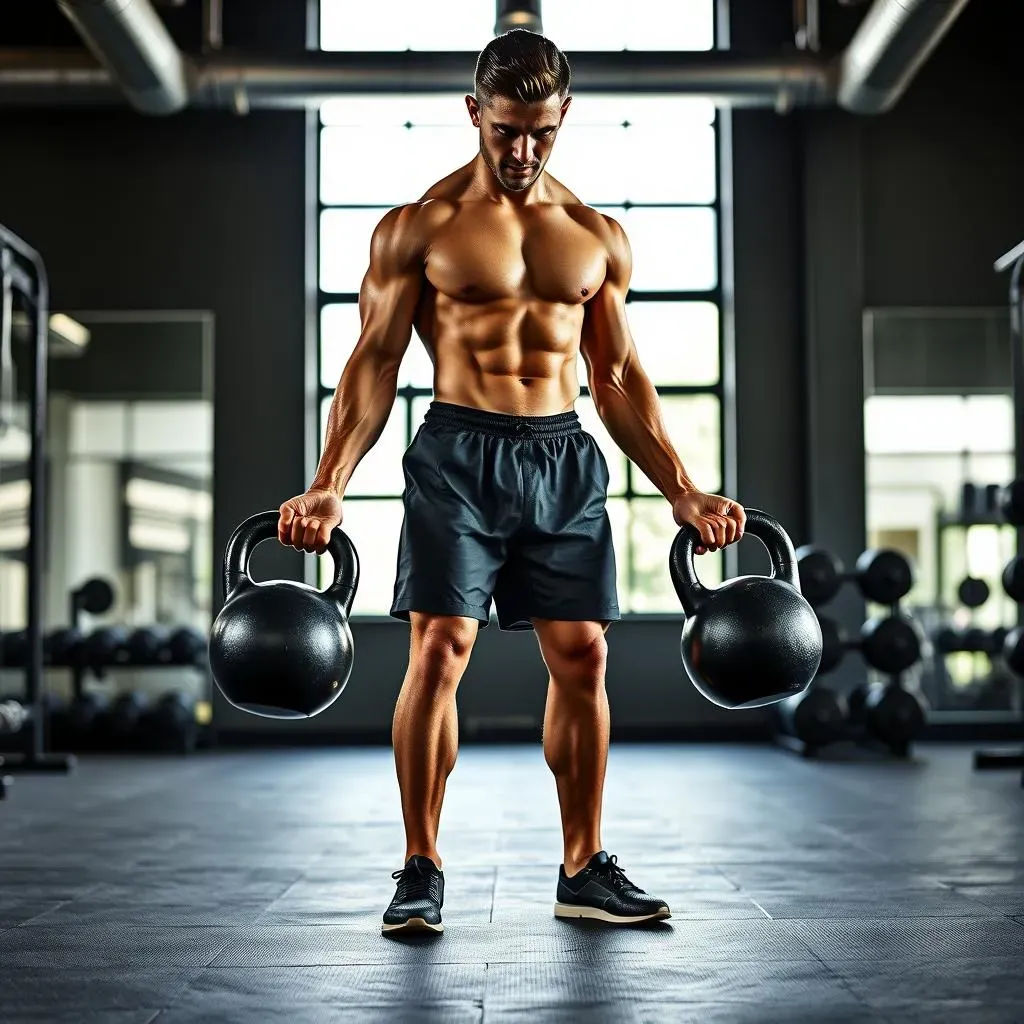
Alright, so you're ready to rock the 2 kettlebell deadlift? Awesome! First things first, let's get set up. You’ll want to place two kettlebells on the floor, about shoulder-width apart. Make sure they are lined up straight. It’s like prepping for a race – you wouldn't start with your shoes untied, would you? Stand with your feet about hip-width apart, roughly in the middle of the two bells. Now, before you even think about bending over, take a deep breath and brace your core. Think about tightening your abs as if you're about to get punched in the stomach (but, you know, don't actually get punched). This is going to protect your lower back and get those muscles ready to work.
Next, we need to get our hinge on. Instead of just bending over like you're picking up a dropped napkin, push your hips back, keep your back straight, and bend your knees slightly. It's like you’re trying to close a car door with your butt – you want to feel a stretch in your hamstrings. Your shoulders should be over the kettlebells, and your hands should be ready to grip the handles. The goal here is to feel like your body is one solid unit, ready to lift heavy. No floppy arms or slouchy backs allowed. This is where the magic starts, so get it right.
The Lift
Now, the moment we've all been waiting for – the lift itself. Grip those kettlebells firmly, but not so tight that you’re turning your knuckles white. Keep your arms straight and engage your lats, pulling your shoulder blades down and back. It's like you're trying to tuck your shoulder blades into your back pockets, which sounds weird, but it works. Take another deep breath, and as you exhale, drive through your heels, pulling the kettlebells up. Remember, it’s a hip hinge, not a squat, so your back should stay relatively straight.
As you lift, imagine you’re pushing the floor away with your feet, and your hips are moving forward to meet the bar. Squeeze your glutes at the top of the lift, standing tall with your chest out, but don't overextend your back. The kettlebells should be hanging straight down from your shoulders. Now, slowly lower the kettlebells back to the ground, reversing the motion, making sure you keep that nice hinge and straight back. It’s not a race, so keep it controlled. And remember, it’s not about the weight, it’s about the form. If you feel any pain, stop and adjust. We’re here to get strong, not hurt.
Step | Action | Key Points |
|---|---|---|
1. Setup | Place two kettlebells, shoulder-width apart | Align them straight, stand in the middle |
2. Stance | Feet hip-width apart, brace core | Tighten abs, protect lower back |
3. Hinge | Push hips back, bend knees slightly | Straight back, shoulders over bells |
4. Grip | Firm grip on handles | Straight arms, engage lats |
5. Lift | Drive through heels, lift kettlebells | Keep back straight, squeeze glutes |
6. Lower | Reverse motion, controlled descent | Maintain hinge and straight back |
Common Mistakes and How to Fix Them in Your 2 Kettlebell Deadlift
Common Mistakes and How to Fix Them in Your 2 Kettlebell Deadlift
Rounding Your Back
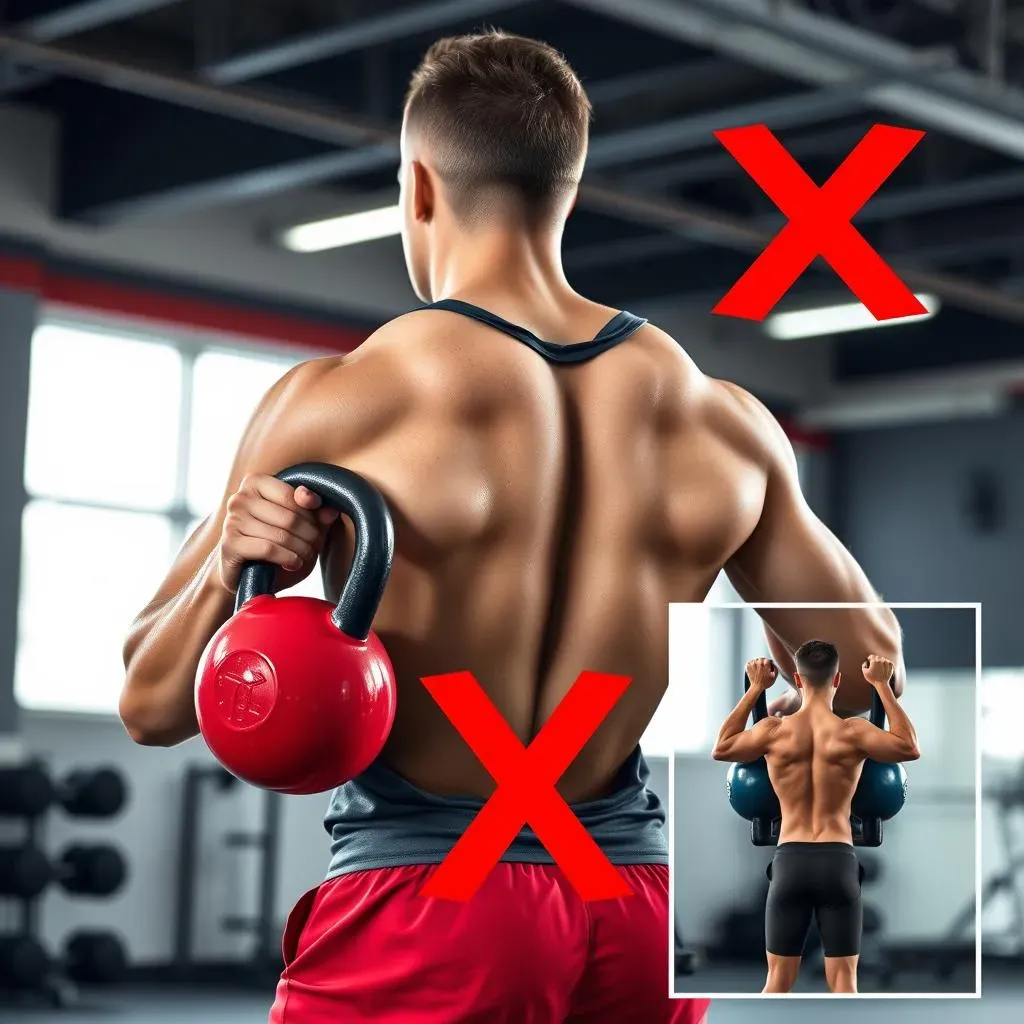
Okay, let's talk about the most common offender: rounding your back. You know, when you look like a question mark while trying to lift? This is a big no-no. It puts unnecessary stress on your spine and can lead to some serious ouchies. Usually, it happens when you're not engaging your core properly or if the weight is too heavy. Think of your back as a solid beam. You wouldn’t try to bend a solid beam in the middle, would you? Instead, focus on keeping your chest up and your back flat throughout the entire movement. It’s like you’re trying to show off a t-shirt with a cool logo on it—keep it visible!
To fix this, try practicing the hip hinge without any weights first. Stand in front of a mirror and really focus on pushing your hips back while keeping your back straight. If you still struggle, try lowering the weight and focus on maintaining proper form. It's better to lift lighter with good form than heavier with bad form. Imagine you have a stick running down your back and you have to keep your head, upper back, and butt all touching that stick through the movement. This will help you maintain that straight line and protect your spine. It’s all about controlled movement, not just heaving weight up.
Squatting Instead of Hinging
Another mistake I see a lot is people turning the deadlift into a squat. I mean, I get it, squats are great, but they're not deadlifts. When you squat, you're bending your knees more than your hips, and that takes away from the power of the deadlift. Your glutes and hamstrings are not getting the workout that they should. It’s like trying to use a screwdriver as a hammer – it’s not going to work very well. A deadlift is all about the hip hinge, which means you're pushing your hips back and bending your knees only slightly.
To correct this, focus on initiating the movement by pushing your hips back, almost like you’re trying to touch the wall behind you with your butt. Keep your chest up and your back straight, and remember that your knees should bend just enough to get your hands to the kettlebells. Your shins should stay relatively vertical. Think of it as a hinge at your hips – that’s where the power comes from. If you’re still struggling, try doing some Romanian Deadlifts (RDLs) with lighter weights or no weights at all. This will help you feel the hip hinge movement and transfer it to your 2 kettlebell deadlifts.
Mistake | Why it Happens | How to Fix It |
|---|---|---|
Rounding Back | Weak core, too much weight | Engage core, lower weight, practice hinge |
Squatting | Confusion between squat and hinge | Focus on pushing hips back, slight knee bend |
Jerky Movements | Rushing the lift, not using controlled movement | Slow down the lift, focus on smooth motion |
Neck Strain | Looking up, not keeping neutral spine | Keep head aligned with spine, look at the floor |
Wrapping Up Your 2 Kettlebell Deadlift Journey
So, there you have it – the 2 kettlebell deadlift, demystified. It's not just about lifting heavy; it’s about lifting smart. By mastering the proper form, avoiding those common mistakes, and understanding the benefits, you’re setting yourself up for serious strength gains. Remember, consistency is key, and patience is your friend. Don’t rush the process, focus on each rep, and you’ll be amazed at what you can achieve. Now go grab those kettlebells, and get lifting!